How to set up a pool table can transform your space into an entertainment hub, whether you’re a beginner, a DIY enthusiast, or a professional looking for precision setup. However, proper setup is essential for ensuring a smooth playing experience and preventing damage to your table. This guide will walk you through everything from assessing your space to leveling the table, ensuring years of enjoyable gameplay.
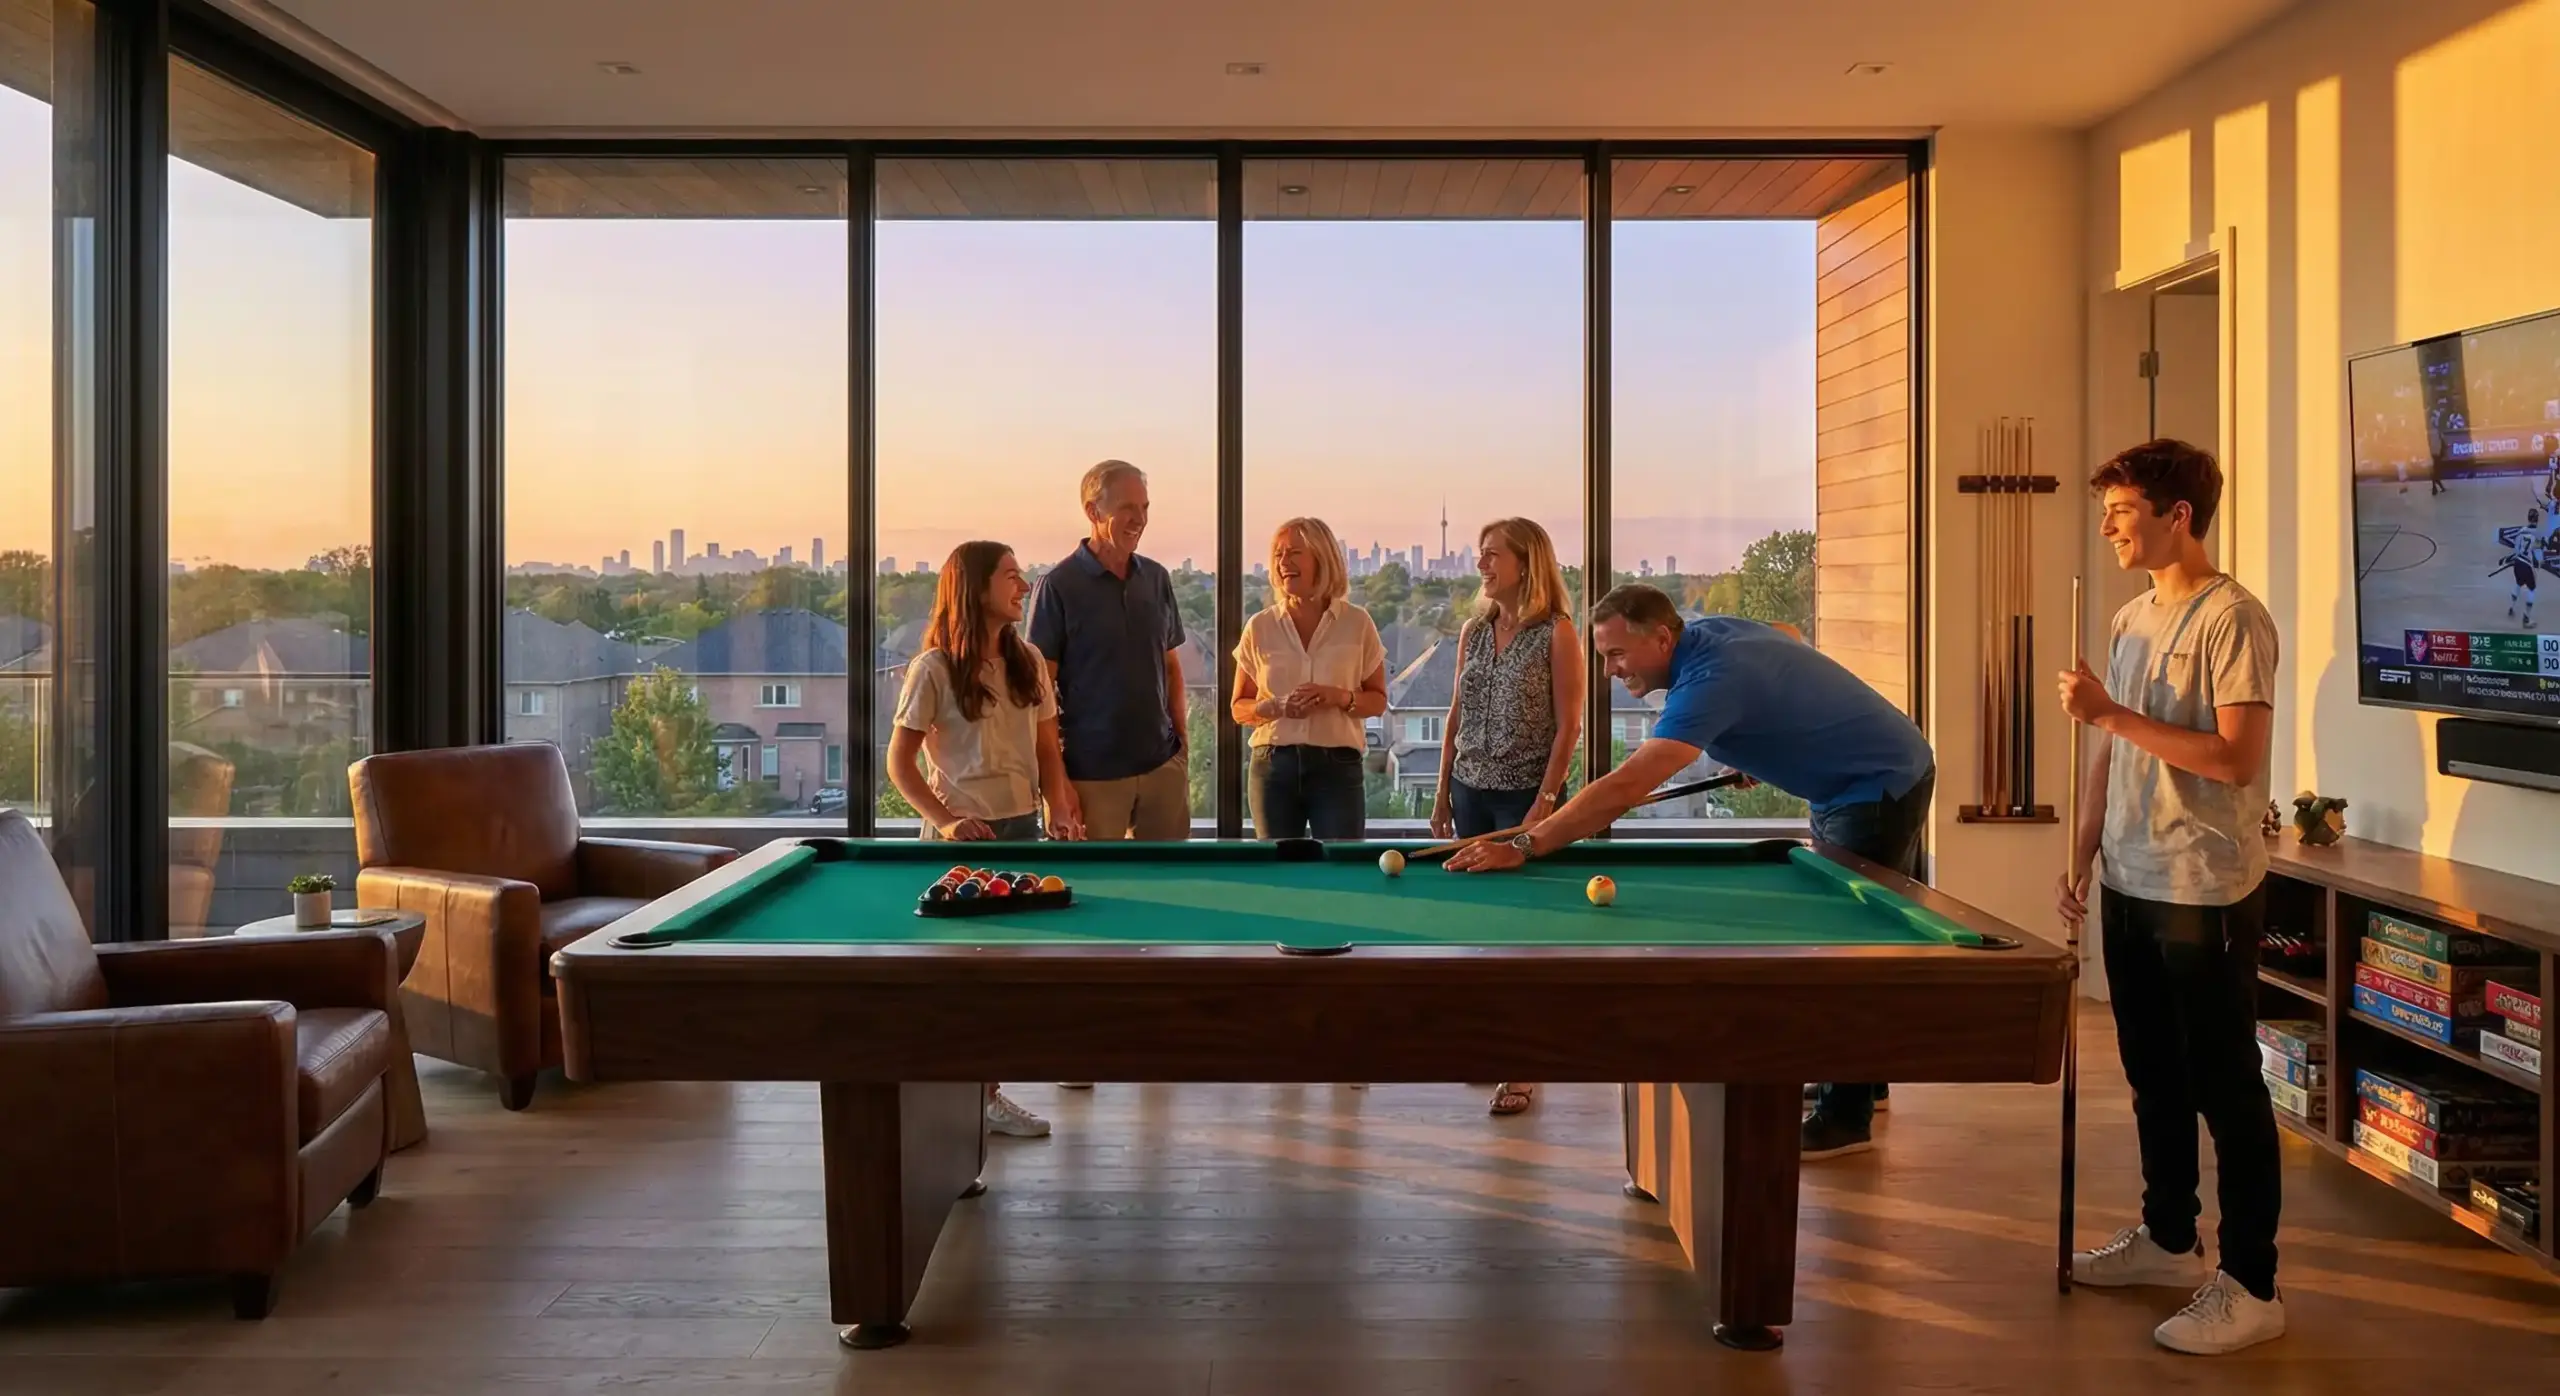
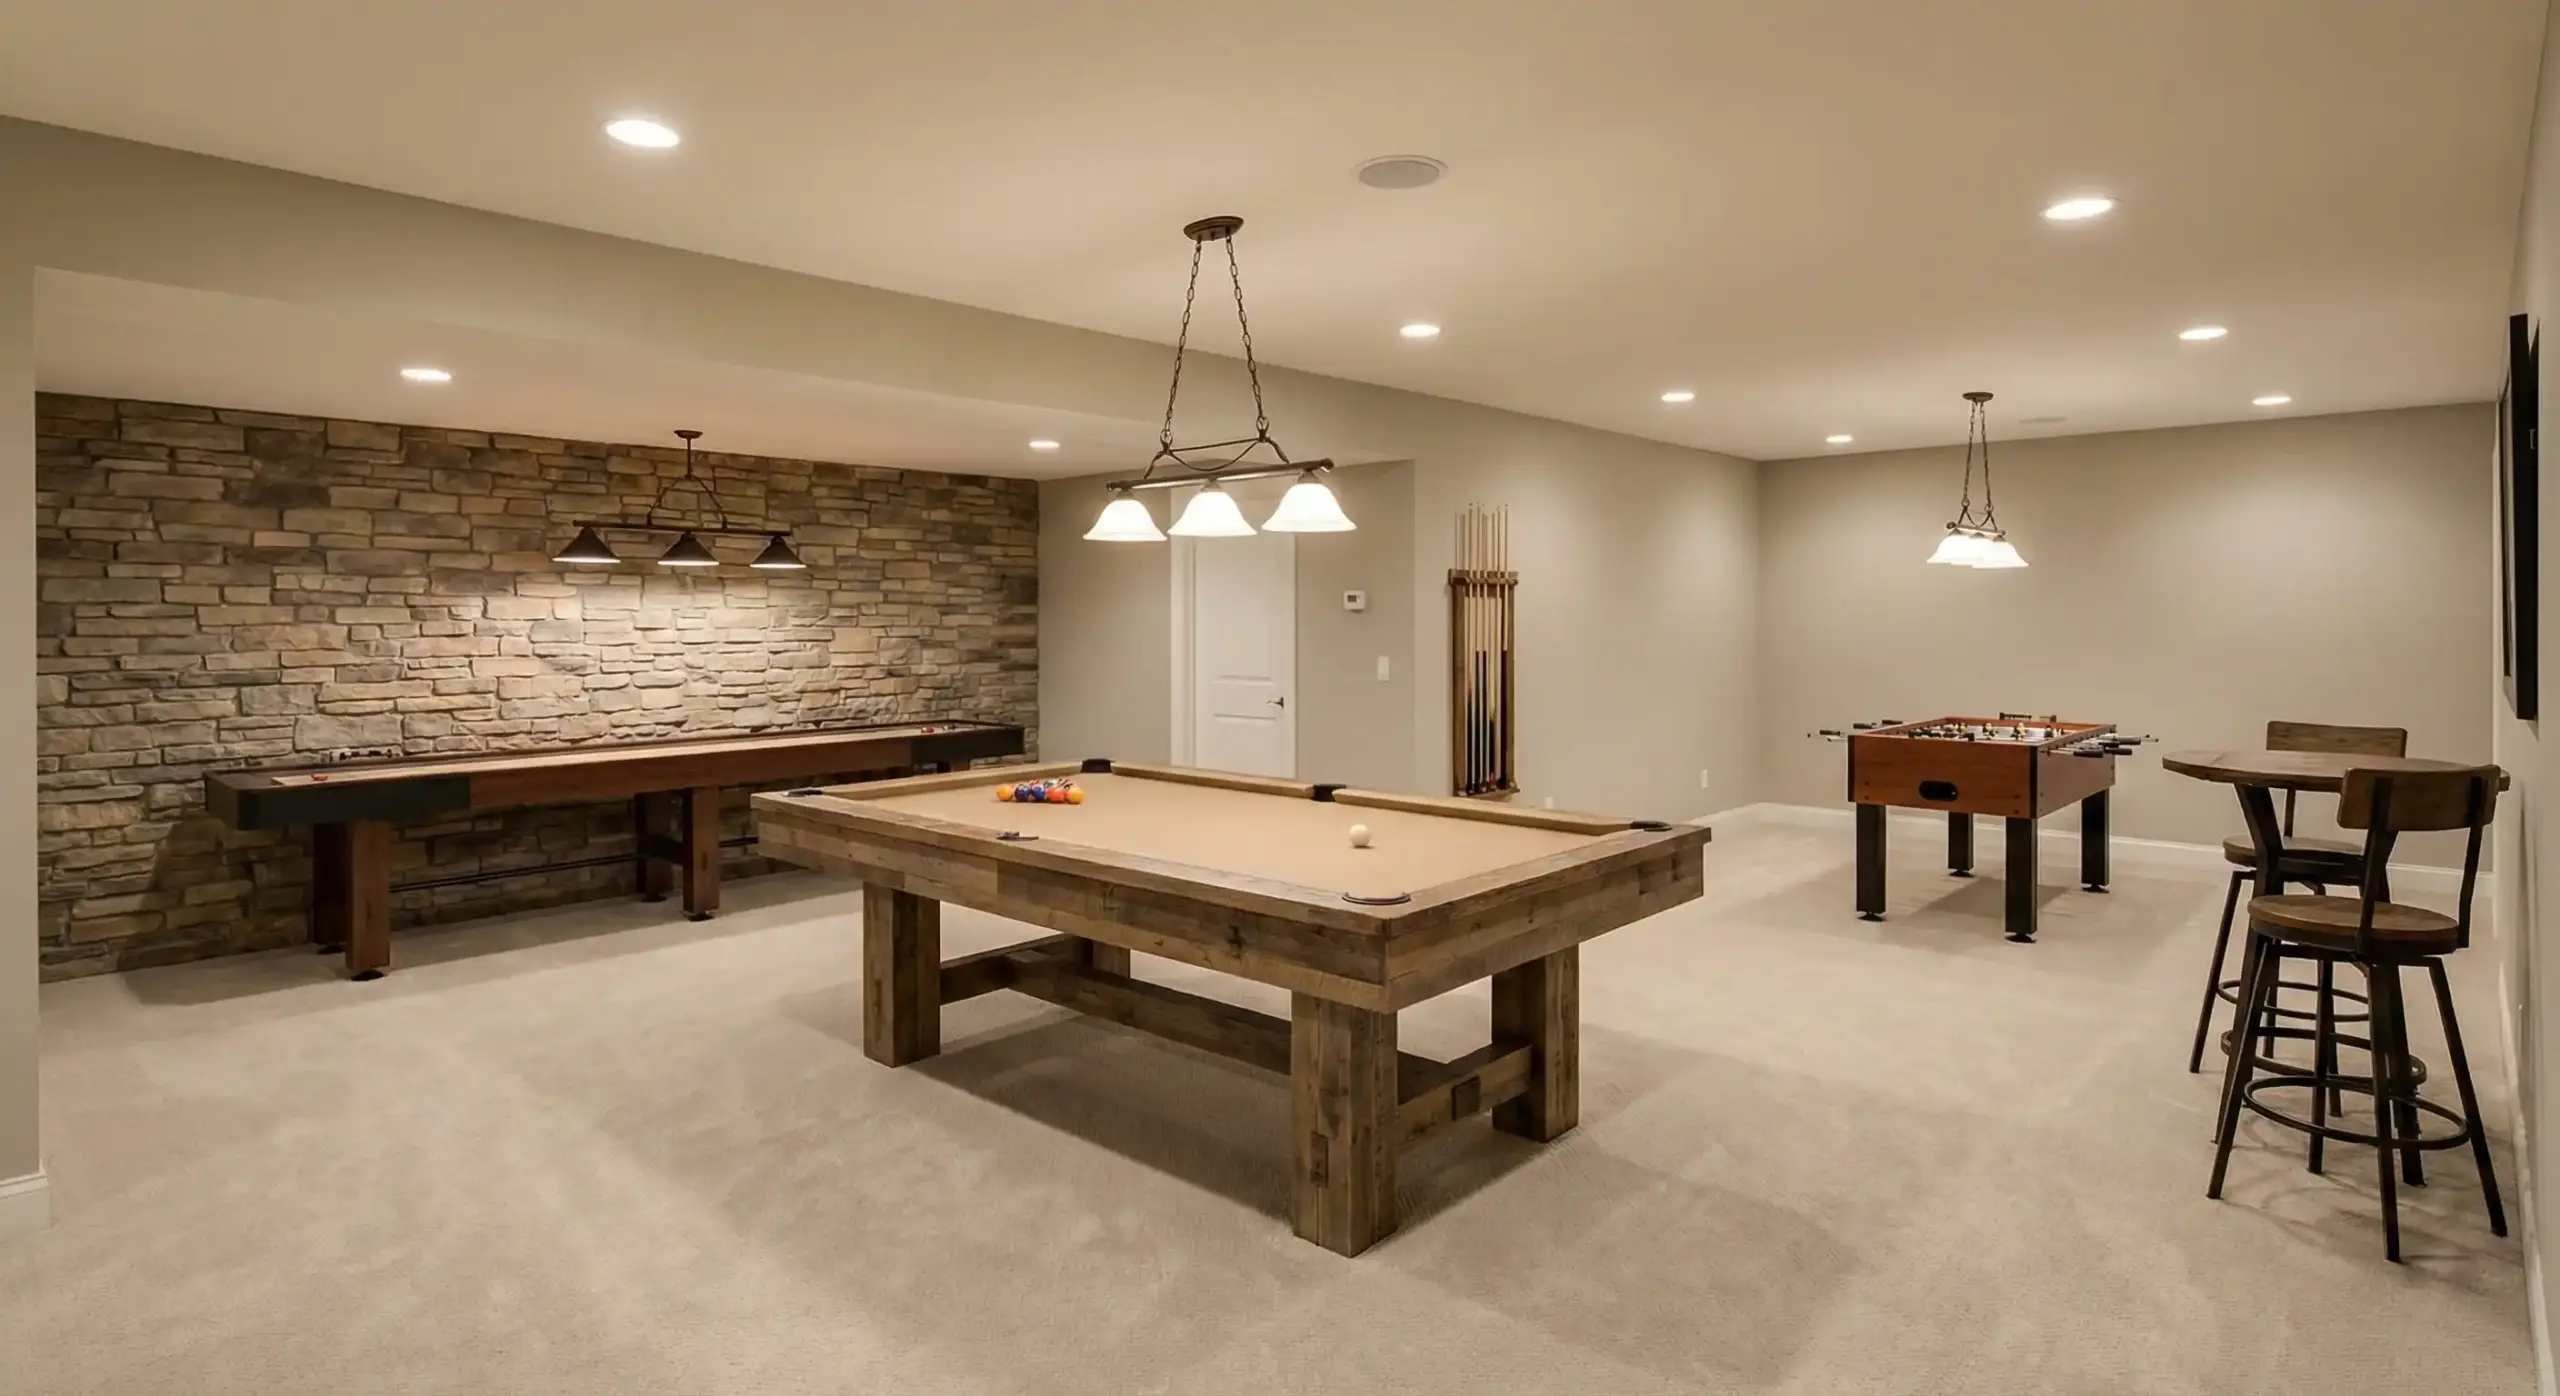
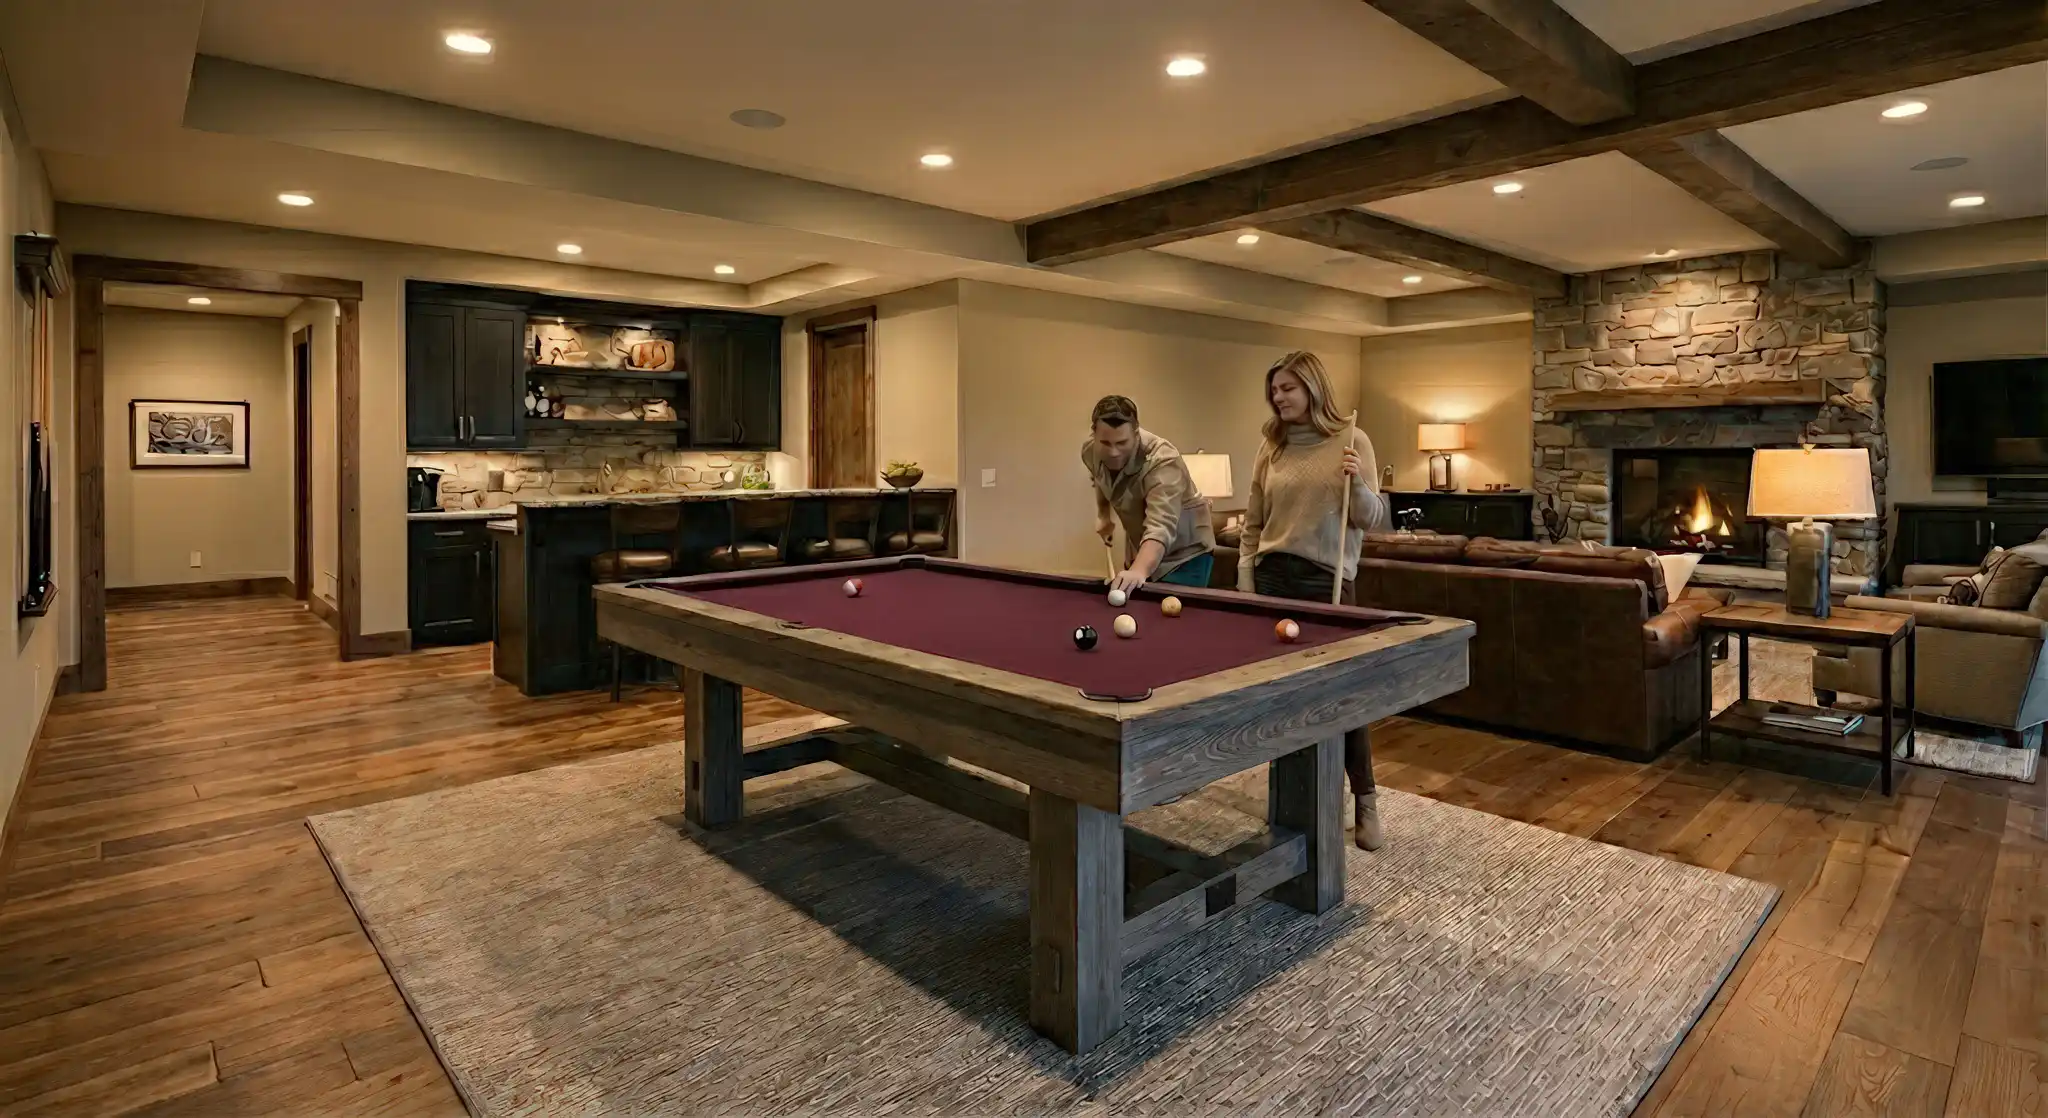
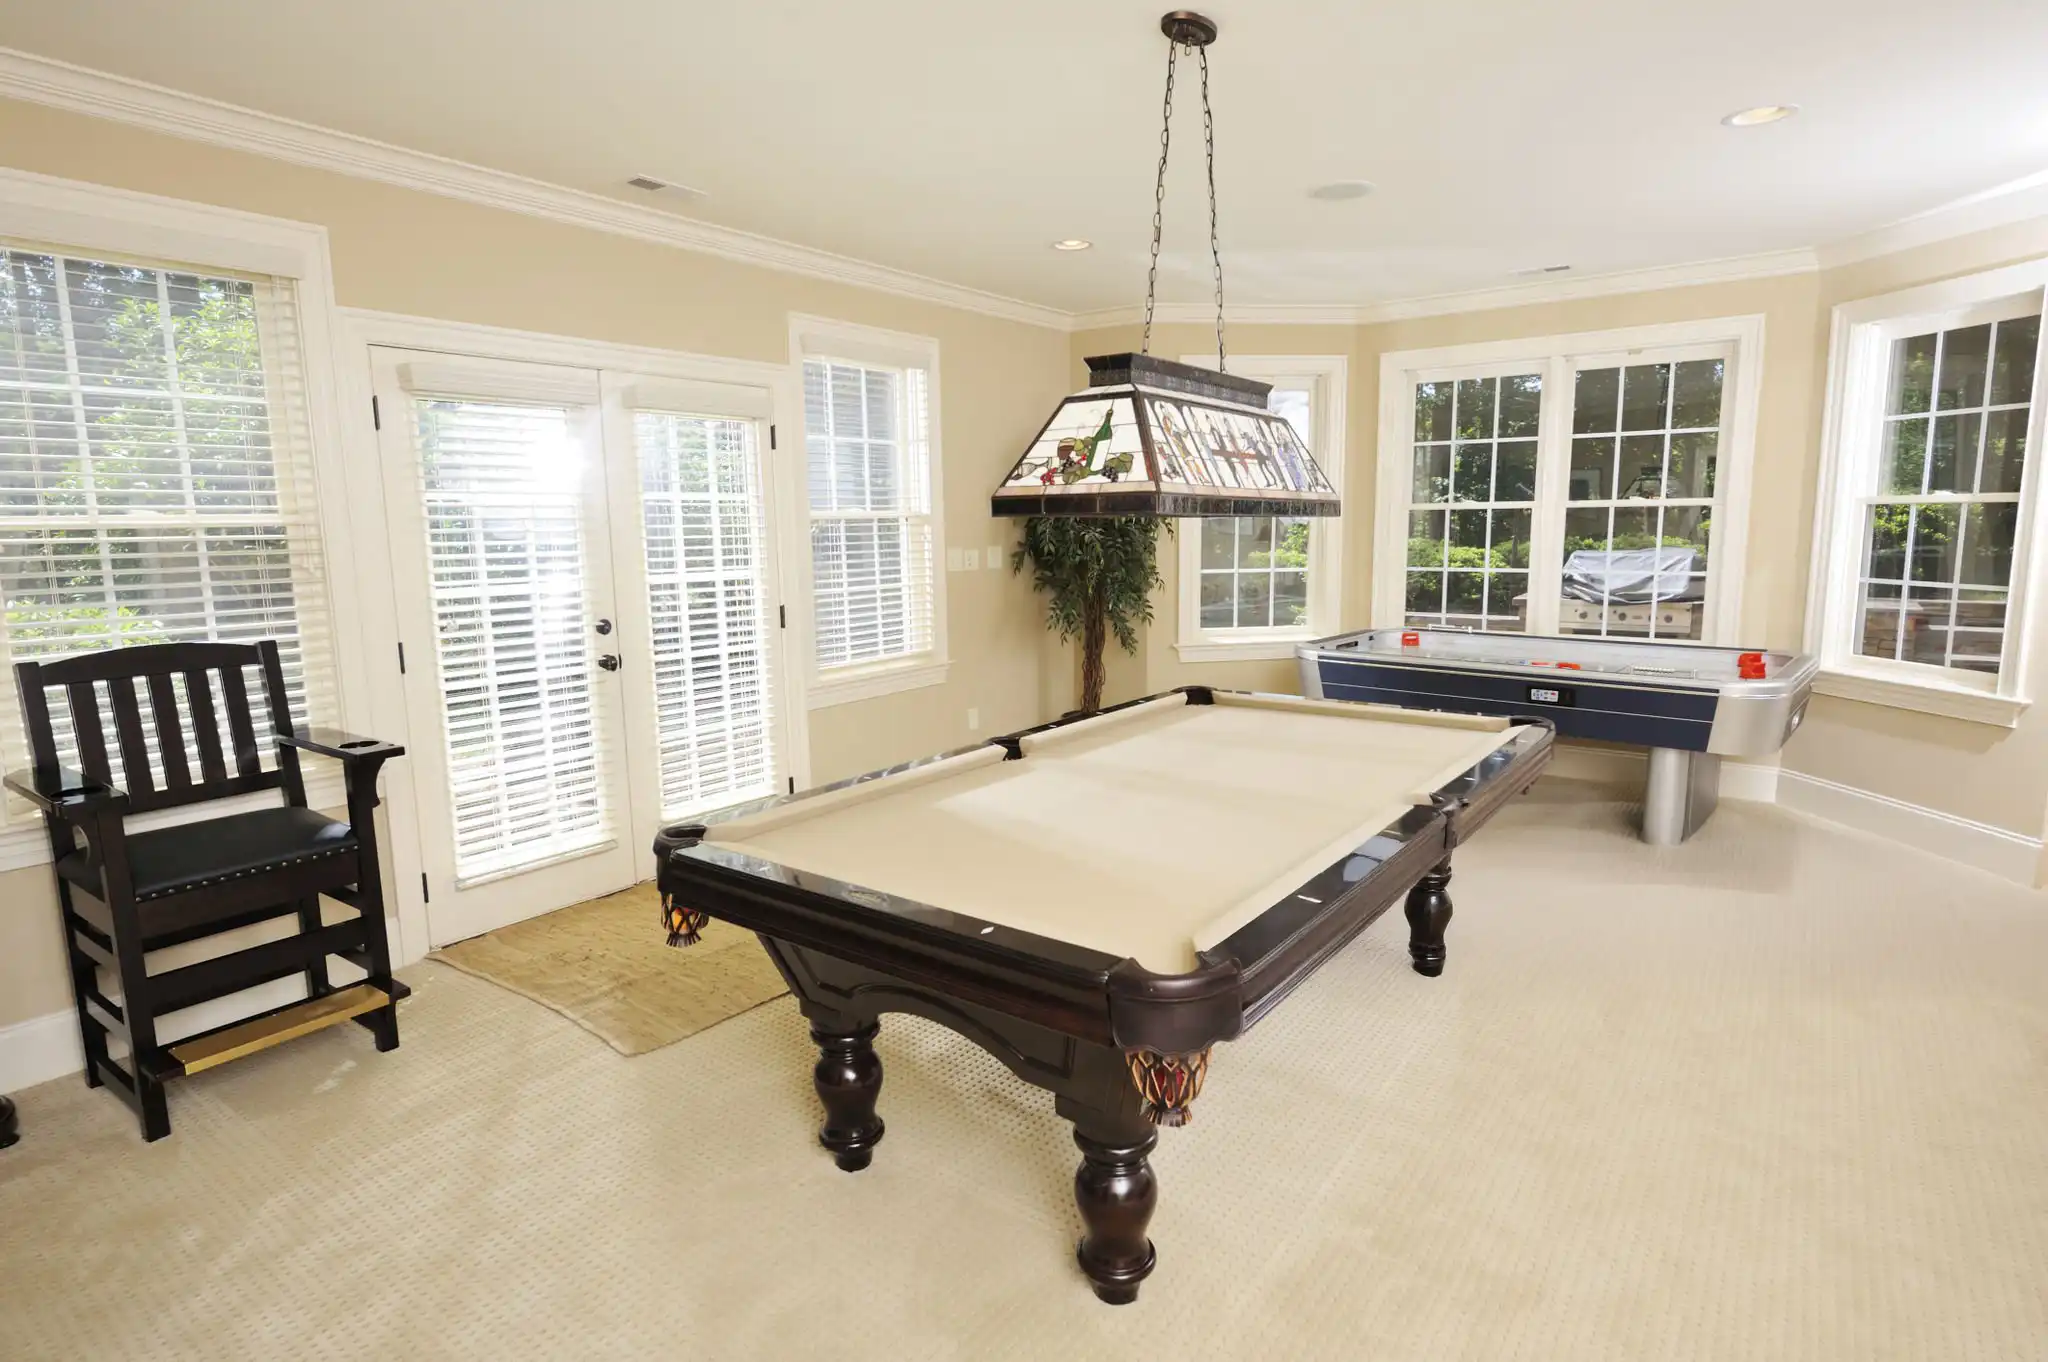
Assessing Your Space: Choosing the Right Location
Proper room planning ensures a smooth playing experience and prevents obstructions. Learn more about pool table room planning to make the most of your space.
Before unboxing your pool table, measure your available space carefully. Consider the following factors:
Room Dimensions & Cue Clearance
- Measure the length and width of your room, accounting for doorways, windows, and furniture.
- Allow at least 5 feet of clearance around the table for comfortable cueing.
- Standard cue sticks are 57-58 inches long; if space is limited, consider shorter cues.
| Table Size | Minimum Room Dimensions |
| 7-foot | 12′ 9″ x 16′ |
| 8-foot | 13′ x 16′ 10″ |
| 9-foot | Larger than 8-foot table dimensions |
Lighting Considerations
- Position the table where artificial or natural light provides even visibility.
- Avoid placing the table under direct glare to prevent shadows.
Flooring
- A solid, level surface (hardwood, tile) ensures stability.
- If placing on carpet, check leg stability to prevent uneven settling.
Gathering Your Tools and Equipment
Having the right tools will make the assembly process much smoother. Here’s what you’ll need:
- Essential Tools:
Power drill, level, staple gun, Phillips and flathead screwdrivers, wrenches, tape measure, and a utility knife. - Slate Setup Tools:
Beeswax and a propane blowtorch to seal the slate gaps, along with a paint scraper for smoothing excess wax. - Accessories:
Pool cues, billiard balls, a triangle rack, and a table cover to protect your pool table. - Safety Gear:
Heat-resistant gloves and protective eyewear, especially when using tools like a blowtorch.
Beyond tools, you’ll need key accessories such as pool cues, billiard balls, a triangle rack, and a table cover to keep your pool table in pristine condition. For safety, always wear heat-resistant gloves and protective eyewear when using tools like a blowtorch.
Assembling the Frame and Legs
| Do | Don’t |
| Follow the manufacturer’s instructions carefully. Common mistakes include not tightening bolts evenly, which can lead to an unstable frame, and skipping the leveling step, resulting in an uneven playing surface. Double-check each step before moving on to avoid these issues. | Rush the assembly process. |
| Work with a partner to handle heavy components. | Over-tighten screws, which may damage the frame. |
| Check for stability and tighten all bolts securely. |
Installing the Slate: The Heart of the Table
Follow this step-by-step guide for assembling a pool table correctly, ensuring the slate is perfectly positioned.
| Do | Don’t |
| Center the slate on the frame properly. | Overtighten screws, as it may crack the slate. |
| Use beeswax to seal gaps between the slate pieces. | Skip the leveling step; uneven slates lead to poor gameplay. |
| Level each slate piece individually before securing. |
Applying the Felt: Achieving a Smooth Surface
| Do | Don’t |
| Choose high-quality felt (worsted for speed, woolen for durability). | Use excessive force, which may tear the felt. |
| Stretch the felt tightly and secure it with a staple gun. | Ignore wrinkles, as they can affect gameplay. |
| Smooth out wrinkles before attaching. |
Attaching the Rails and Pockets
| Do | Don’t |
| Align rails precisely with the slate. | Force the rails if they don’t fit correctly. |
| Use screws or bolts to secure them tightly. | Forget to check alignment before tightening screws. |
| Install pockets securely to avoid dislodging during play. |
Leveling the Pool Table: Ensuring a Fair Game
Check out this ultimate guide on how to achieve a perfectly level playing surface.
| Do | Don’t |
| Use a carpenter’s level to check in multiple directions. | Skip this step; an unlevel table ruins gameplay. |
| Adjust the table legs or use shims to achieve perfect balance. | Overlook small tilts, as they affect ball movement. |
| Roll a ball across the table to confirm levelness. |
Racking the Balls: Preparing for the Game
Learn how to rack pool balls properly to ensure a consistent and fair start to every game.
| Do | Don’t |
| Use a triangle or diamond rack based on the game type. | Rack loosely, as this leads to inconsistent breaks. |
| Follow racking rules for different games (8-ball, 9-ball, snooker, etc.). | Misalign the cue ball position during breaks. |
| Tighten the rack to ensure a consistent break. |
Maintaining Your Pool Table: Longevity Tips
Follow this maintenance guide to keep your pool table in top condition for years to come.
| Do | Don’t |
| Brush the felt regularly to remove chalk dust. | Use harsh chemicals on the felt or wooden parts. |
| Clean the balls using a soft cloth or specialized cleaner. | Allow food and drinks near the table. |
| Cover the table when not in use to protect against dust and damage. | Use the table for non-billiards activities. |
| Check for level periodically and make adjustments. |
Final Thoughts
Setting up a pool table correctly ensures years of enjoyable gameplay. Proper assembly, leveling, and maintenance are key to ensuring a professional-quality playing experience. By taking the time to follow these steps carefully, you can avoid common pitfalls and enjoy a smooth and consistent game every time.
Enhance your game room with expert pool table installation from Hallmark Billiards. Schedule your professional setup today.