Introduction
Bringing a new pool table home is the start of countless hours of fun and friendly competition. It’s an investment that quickly becomes the centerpiece of any game room. But the excitement of choosing your perfect table can quickly turn to frustration if your home isn’t ready for its arrival. A narrow doorway, an unlevel floor, or a room that’s just a few inches too small can cause delivery delays, potential damage, or a compromised playing experience. Proper pool table room preparation is the crucial, often-overlooked step that ensures a seamless transition from showroom to first break. This guide will walk you through everything you need to know to get your space ready for a smooth, successful delivery and installation.
Key Takeaways
- Measure your room and add at least 10 feet to the table’s playing surface dimensions for adequate cue clearance.
- The delivery path, including all doorways, hallways, and stairs, must be measured and cleared of obstacles before the delivery team arrives.
- A standard 8-foot slate pool table can weigh between 700 and 1,000 pounds, requiring a level and structurally sound floor.
- Proper lighting is critical; a dedicated fixture should be hung so the bottom of the shade is 30-36 inches above the playing surface.
- Professional installation is strongly recommended to ensure the table is assembled correctly and the heavy slate is perfectly leveled.
How Do You Choose the Right Pool Table Size?
The first decision in your pool table journey is selecting a size, which is directly tied to your available space. Pool tables are most commonly found in 7-foot, 8-foot, and 9-foot sizes. A 7-foot table, often called “bar size,” is great for smaller rooms. The 8-foot table is the most popular choice for homes, offering a great balance of playability and space requirements. A 9-foot table is the professional tournament standard, providing the most challenging play and requiring the largest room.
It’s vital to understand the difference between the table’s overall footprint and its playing surface. The playing surface, measured from cushion to cushion, is the dimension that dictates your room size requirements. A regulation table has a 2-to-1 length-to-width ratio. For example, a standard 8-foot table has a playing surface of 44 inches by 88 inches. This is the number you must use for all your calculations. The size you choose affects the game; a larger table requires more skill and precision, while a smaller table can feel faster. Consider your skill level and long-term goals when making your choice.
How Do You Measure Your Room for a Pool Table?
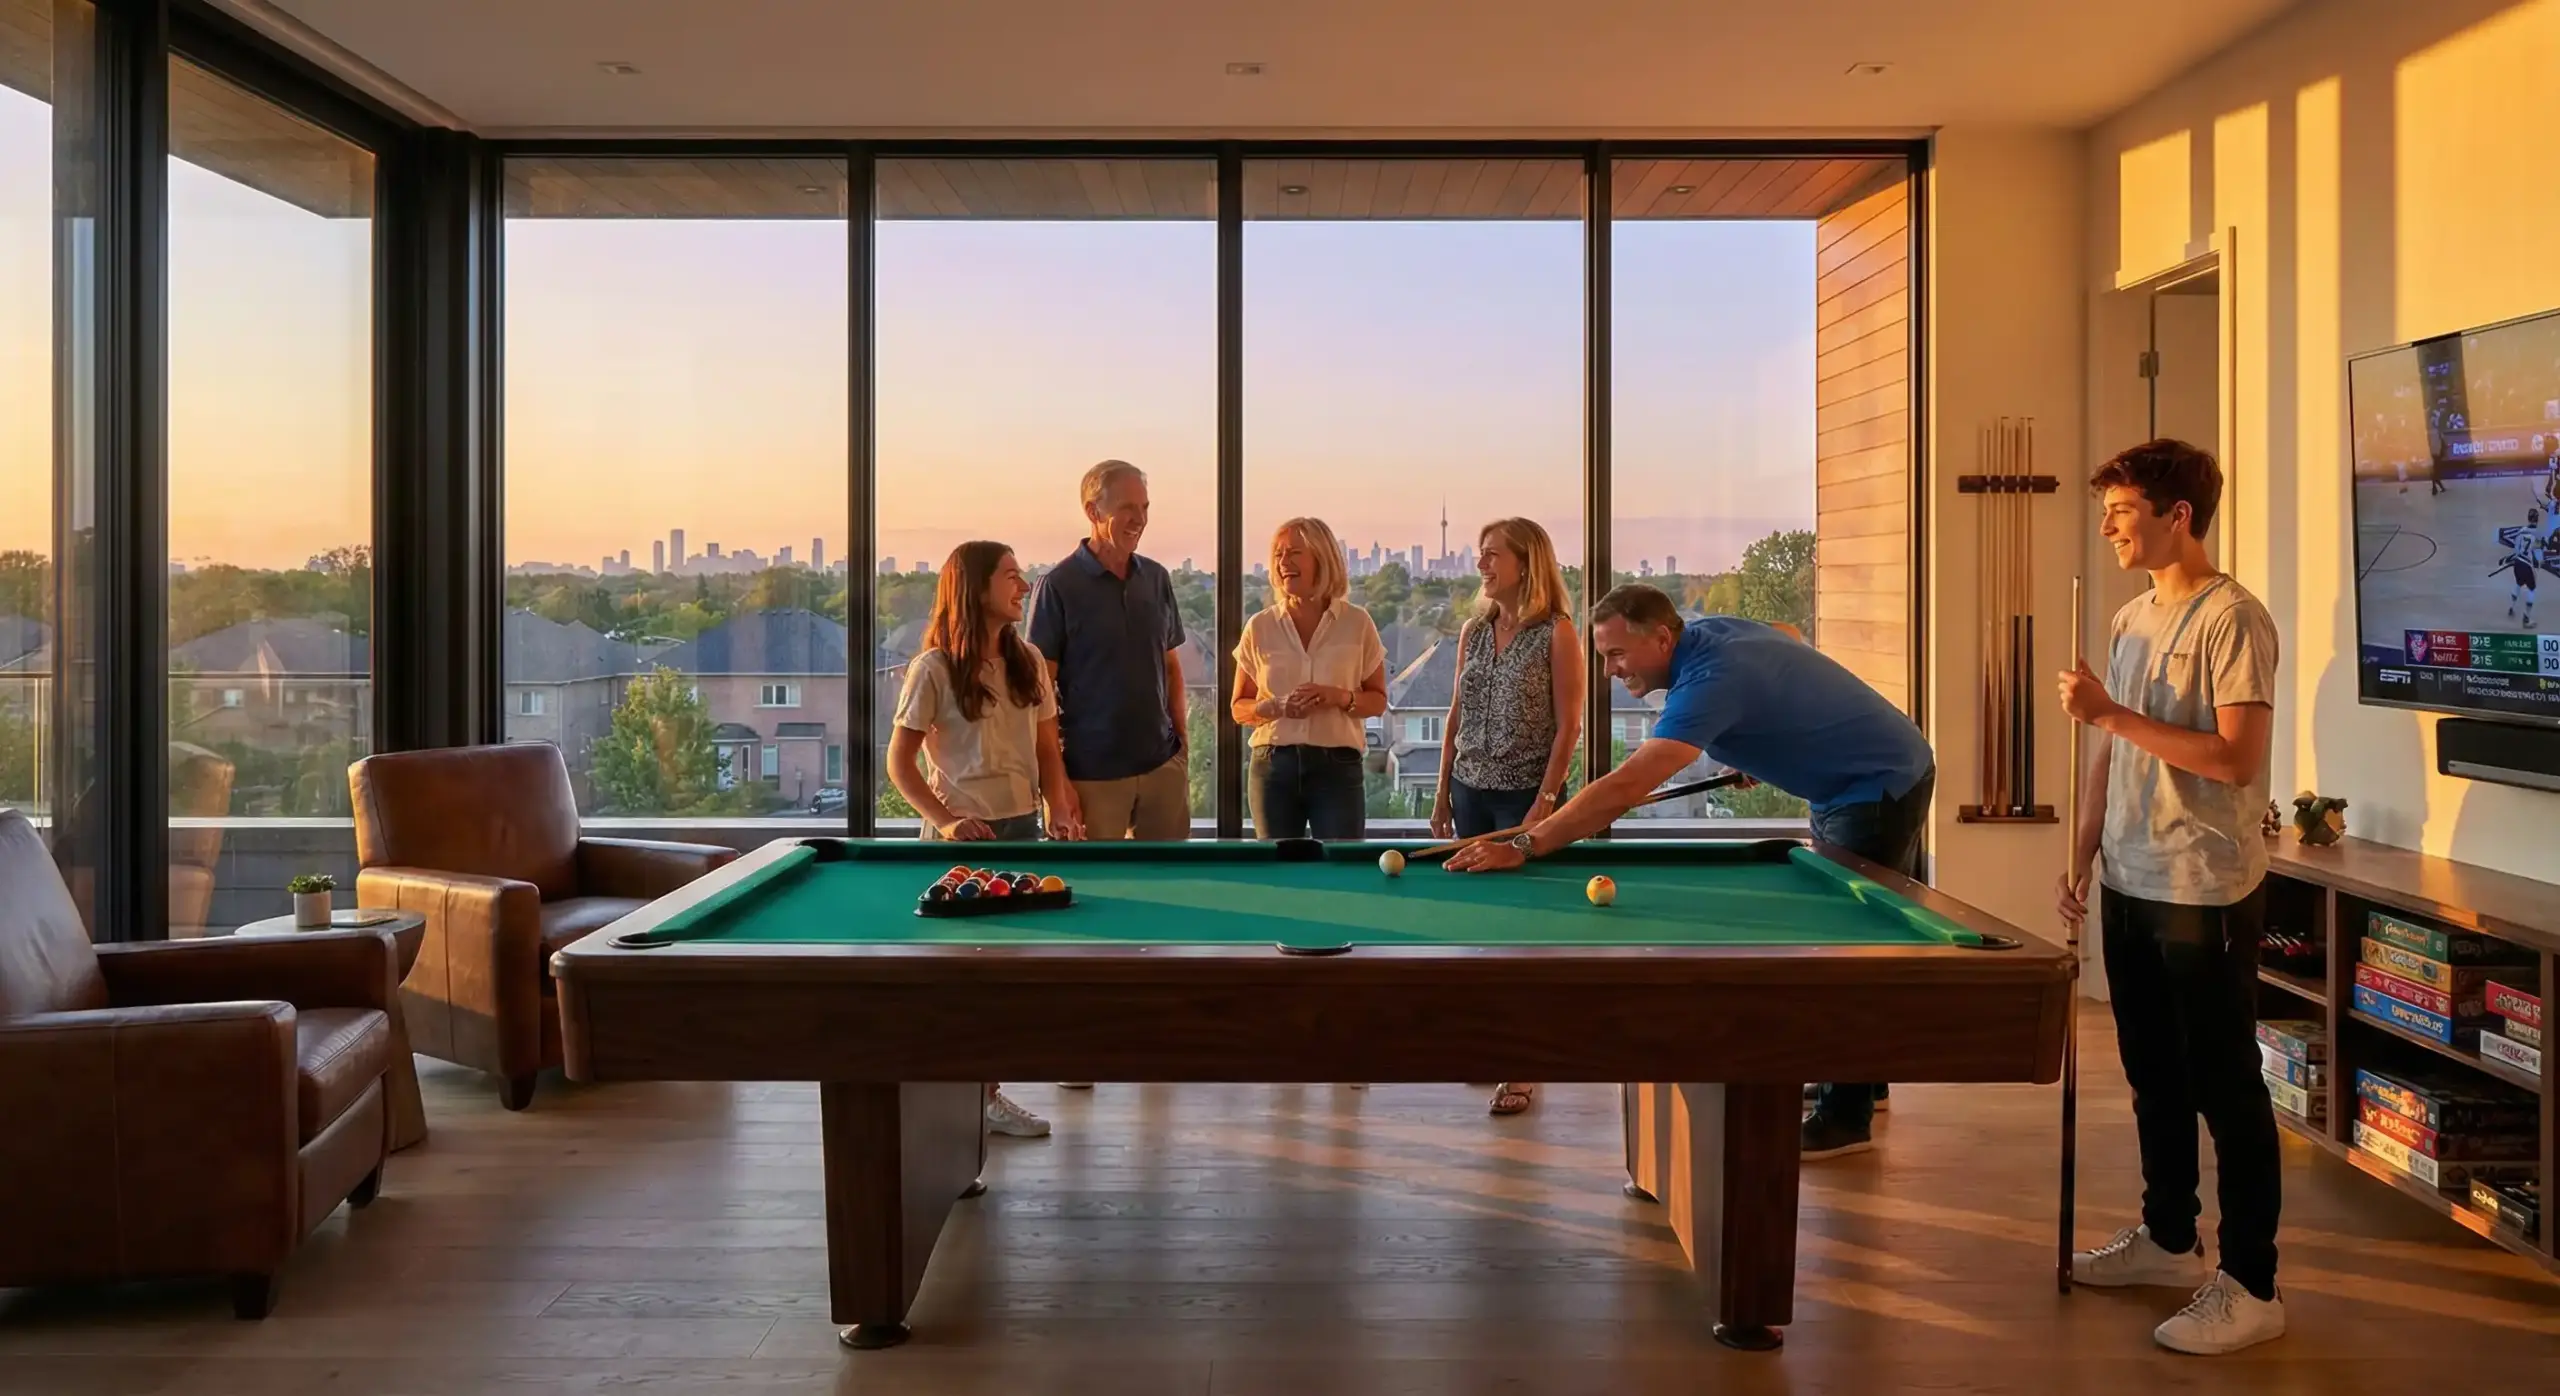
Once you have a table size in mind, you must confirm your room can accommodate it. This is about more than the table’s footprint; you need enough space for players to shoot comfortably from all sides. This clearance is determined by the length of your pool cue. A standard cue is 58 inches long, but shorter cues are available for tighter spaces. The table below shows the minimum room dimensions needed.
| Table Size (Playing Surface) | Min. Room w/ 58″ Cue | Min. Room w/ 52″ Cue | Min. Room w/ 48″ Cue |
| 7-Foot (39″ x 78″) | 13′ 3″ x 16′ 6″ | 12′ 3″ x 15′ 6″ | 11′ 7″ x 14′ 10″ |
| 8-Foot (44″ x 88″) | 13′ 8″ x 17′ 4″ | 12′ 8″ x 16′ 4″ | 12′ 0″ x 15′ 8″ |
| 9-Foot (50″ x 100″) | 14′ 1″ x 18′ 4″ | 13′ 1″ x 17′ 4″ | 12′ 6″ x 16′ 8″ |
If your room has obstructions like support poles or a fireplace, try to position the table so the obstacle is near a side rail rather than at the head or foot of the table where important shots are made. If you’re a few inches short of the ideal space, using shorter cues is a perfectly viable solution.
How Do You Prepare for Pool Table Delivery?
Anticipating the physical journey of the pool table components through your home is a critical part of pool table delivery preparation. Pool tables are delivered in pieces: the frame, legs, rails, and the slate. The slate is the heaviest and most awkward component. On an 8 or 9-foot table, the slate typically comes in three pieces, each weighing between 150 and 250 pounds.
Before the delivery team arrives, you must measure the entire delivery path. Use a tape measure to check the height and width of all exterior and interior doorways, hallways, and especially stairwells. Pay close attention to tight turns and low-hanging fixtures. On delivery day, this entire path must be completely clear. Remove all furniture, area rugs, plants, and any other clutter. Protecting your floors with moving blankets or cardboard is also a wise precaution. Remember to measure this path before you finalize your purchase to avoid the heartbreaking discovery that your dream table can’t make it into your dream game room.
What Are the Pool Table Floor Requirements?
The floor in your game room serves as the foundation for every shot. It must be level and structurally sound enough to handle the immense pool table weight. A slate pool table is extremely heavy. A 7-foot table can weigh 600-700 lbs, an 8-foot table typically weighs 700-1,000 lbs, and a 9-foot table can weigh 1,000-1,300 lbs. The slate alone accounts for about 60-70% of this weight.
Fortunately, most modern homes with ground-level floors (especially concrete slabs) are built to handle this load without issue. The weight is distributed across the table’s legs, with each leg exerting a pressure comparable to a heavy piece of furniture. If you plan an upstairs installation, most modern floor joists can also support the weight, but if you have an older home or any doubts, consulting a structural engineer is the safest option. The type of flooring matters, too. Concrete is ideal. Hardwood and laminate are good, but an area rug is recommended to protect the floor and prevent shifting. Carpet is challenging because it compresses over time, which will require the table to be re-leveled after it settles.
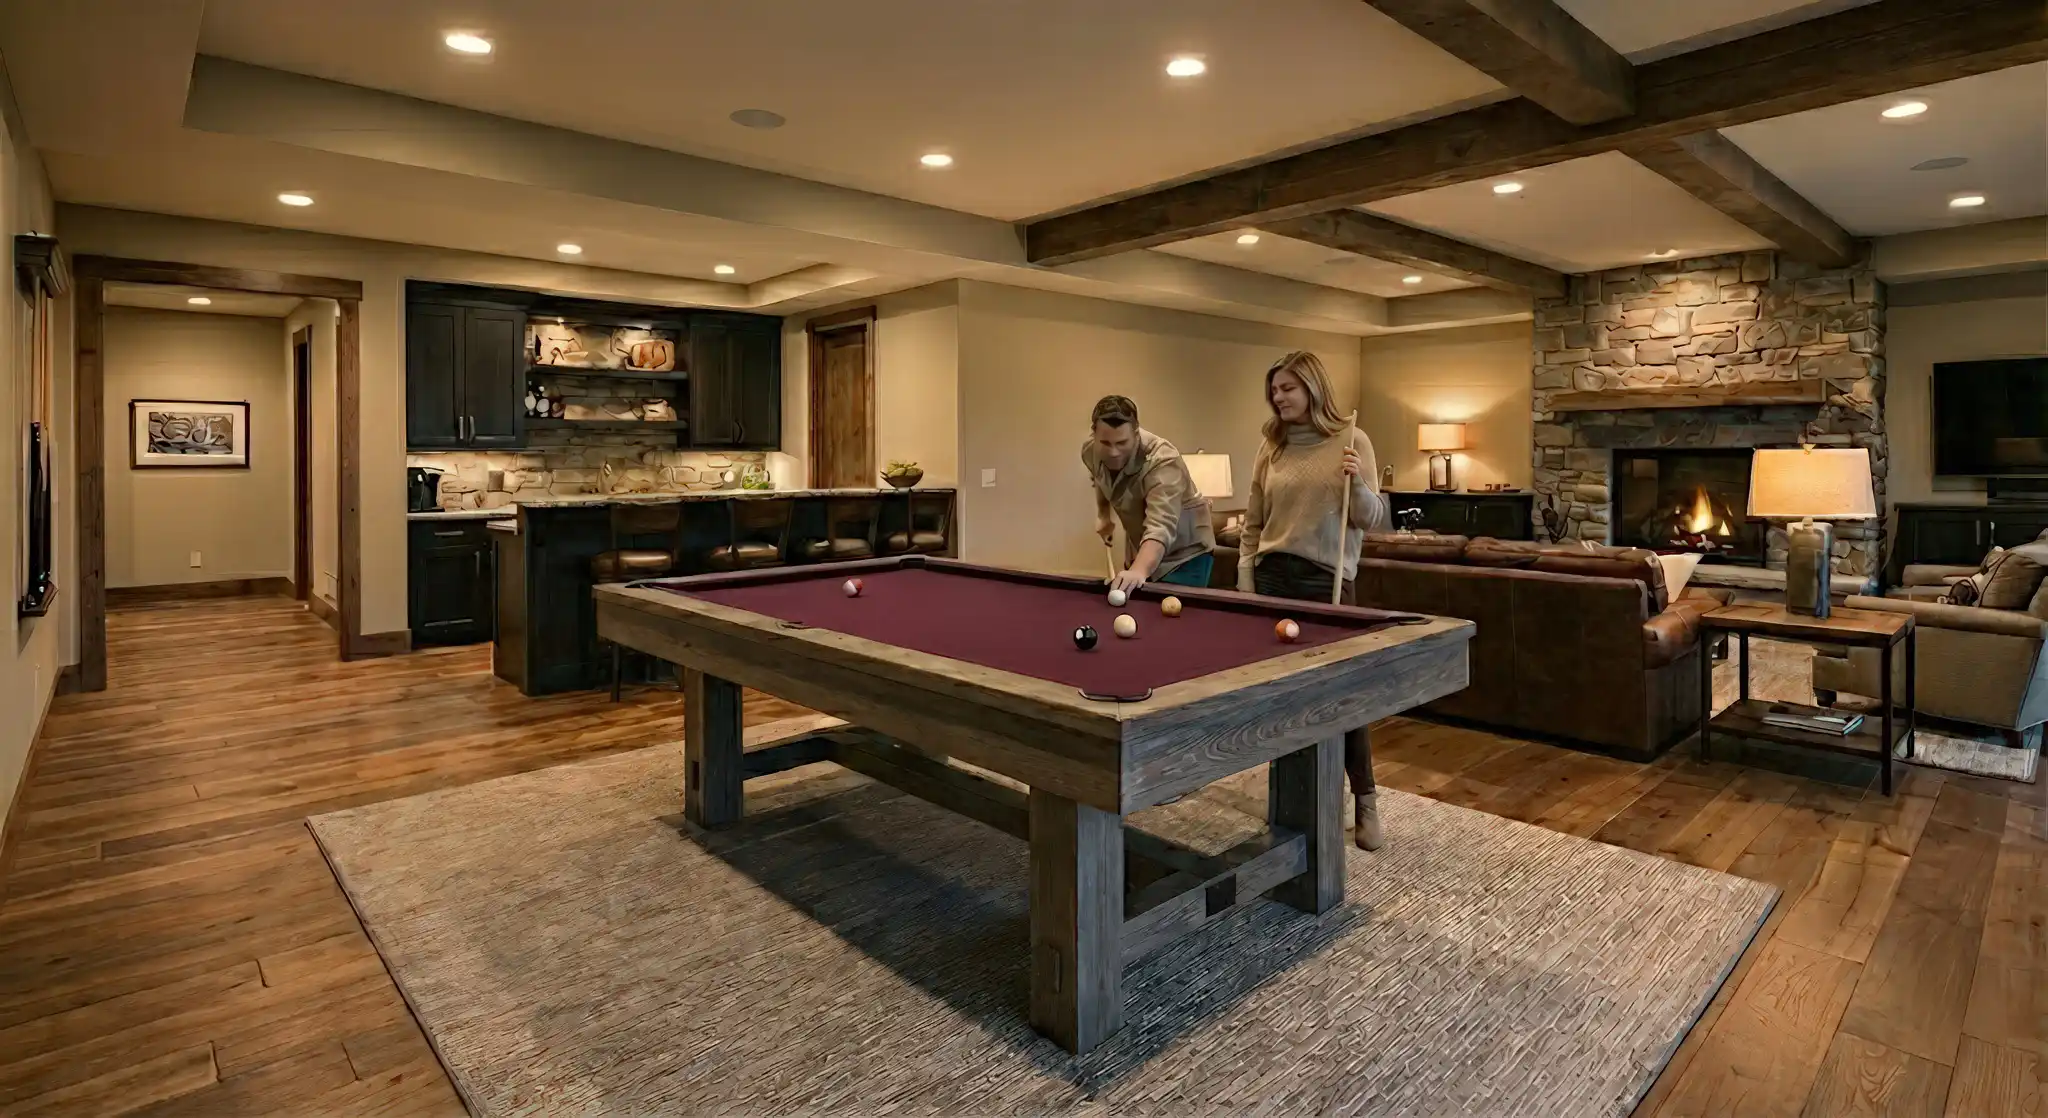
How Should You Prepare the Room for Installation?
On the day of the pool table installation process, the room needs to be completely empty. The installers require significantly more space than the final playing area to work safely and efficiently. They need room to maneuver the heavy slate pieces and assemble the frame. Remove all furniture, roll up area rugs, and take down any pictures or mirrors from the walls near the assembly area. A clean, clear workspace allows the professionals to work without risk of damage to your home or the new table.
The installation itself is a multi-step process that typically takes 4 to 6 hours. The team will assemble the frame, position the heavy slate pieces, and then begin the most critical phase: leveling. They use precision tools to level the slate, filling and sanding the seams between pieces until they are perfectly smooth. Next, they meticulously stretch and attach the felt, ensuring it is taut and free of wrinkles. Finally, they attach the rails and pockets and perform a final level check. While they work, your main job is to be available to confirm the table’s final placement before they begin.
What is the Best Lighting for a Pool Table?
Proper pool table lighting is just as important as a level surface. The goal is to illuminate the entire playing surface evenly, without creating shadows from the balls or glare off the felt. General room lighting is not enough. You need a dedicated light fixture suspended directly over the center of the table. The style can match your decor, but the placement is non-negotiable.
The industry standard is to hang the fixture so that the bottom of the shade is between 30 and 36 inches above the playing surface. If you’re installing the light before the table arrives, this is about 61 to 63 inches from the floor. The size of the fixture should match the table; a 7 or 8-foot table typically uses a 3 or 4-light fixture. For bulbs, LEDs are the best choice. They are energy-efficient, long-lasting, and don’t produce excess heat. Look for a neutral to cool white light (4000K-5000K color temperature) with a wide beam angle to spread light evenly across the entire table.
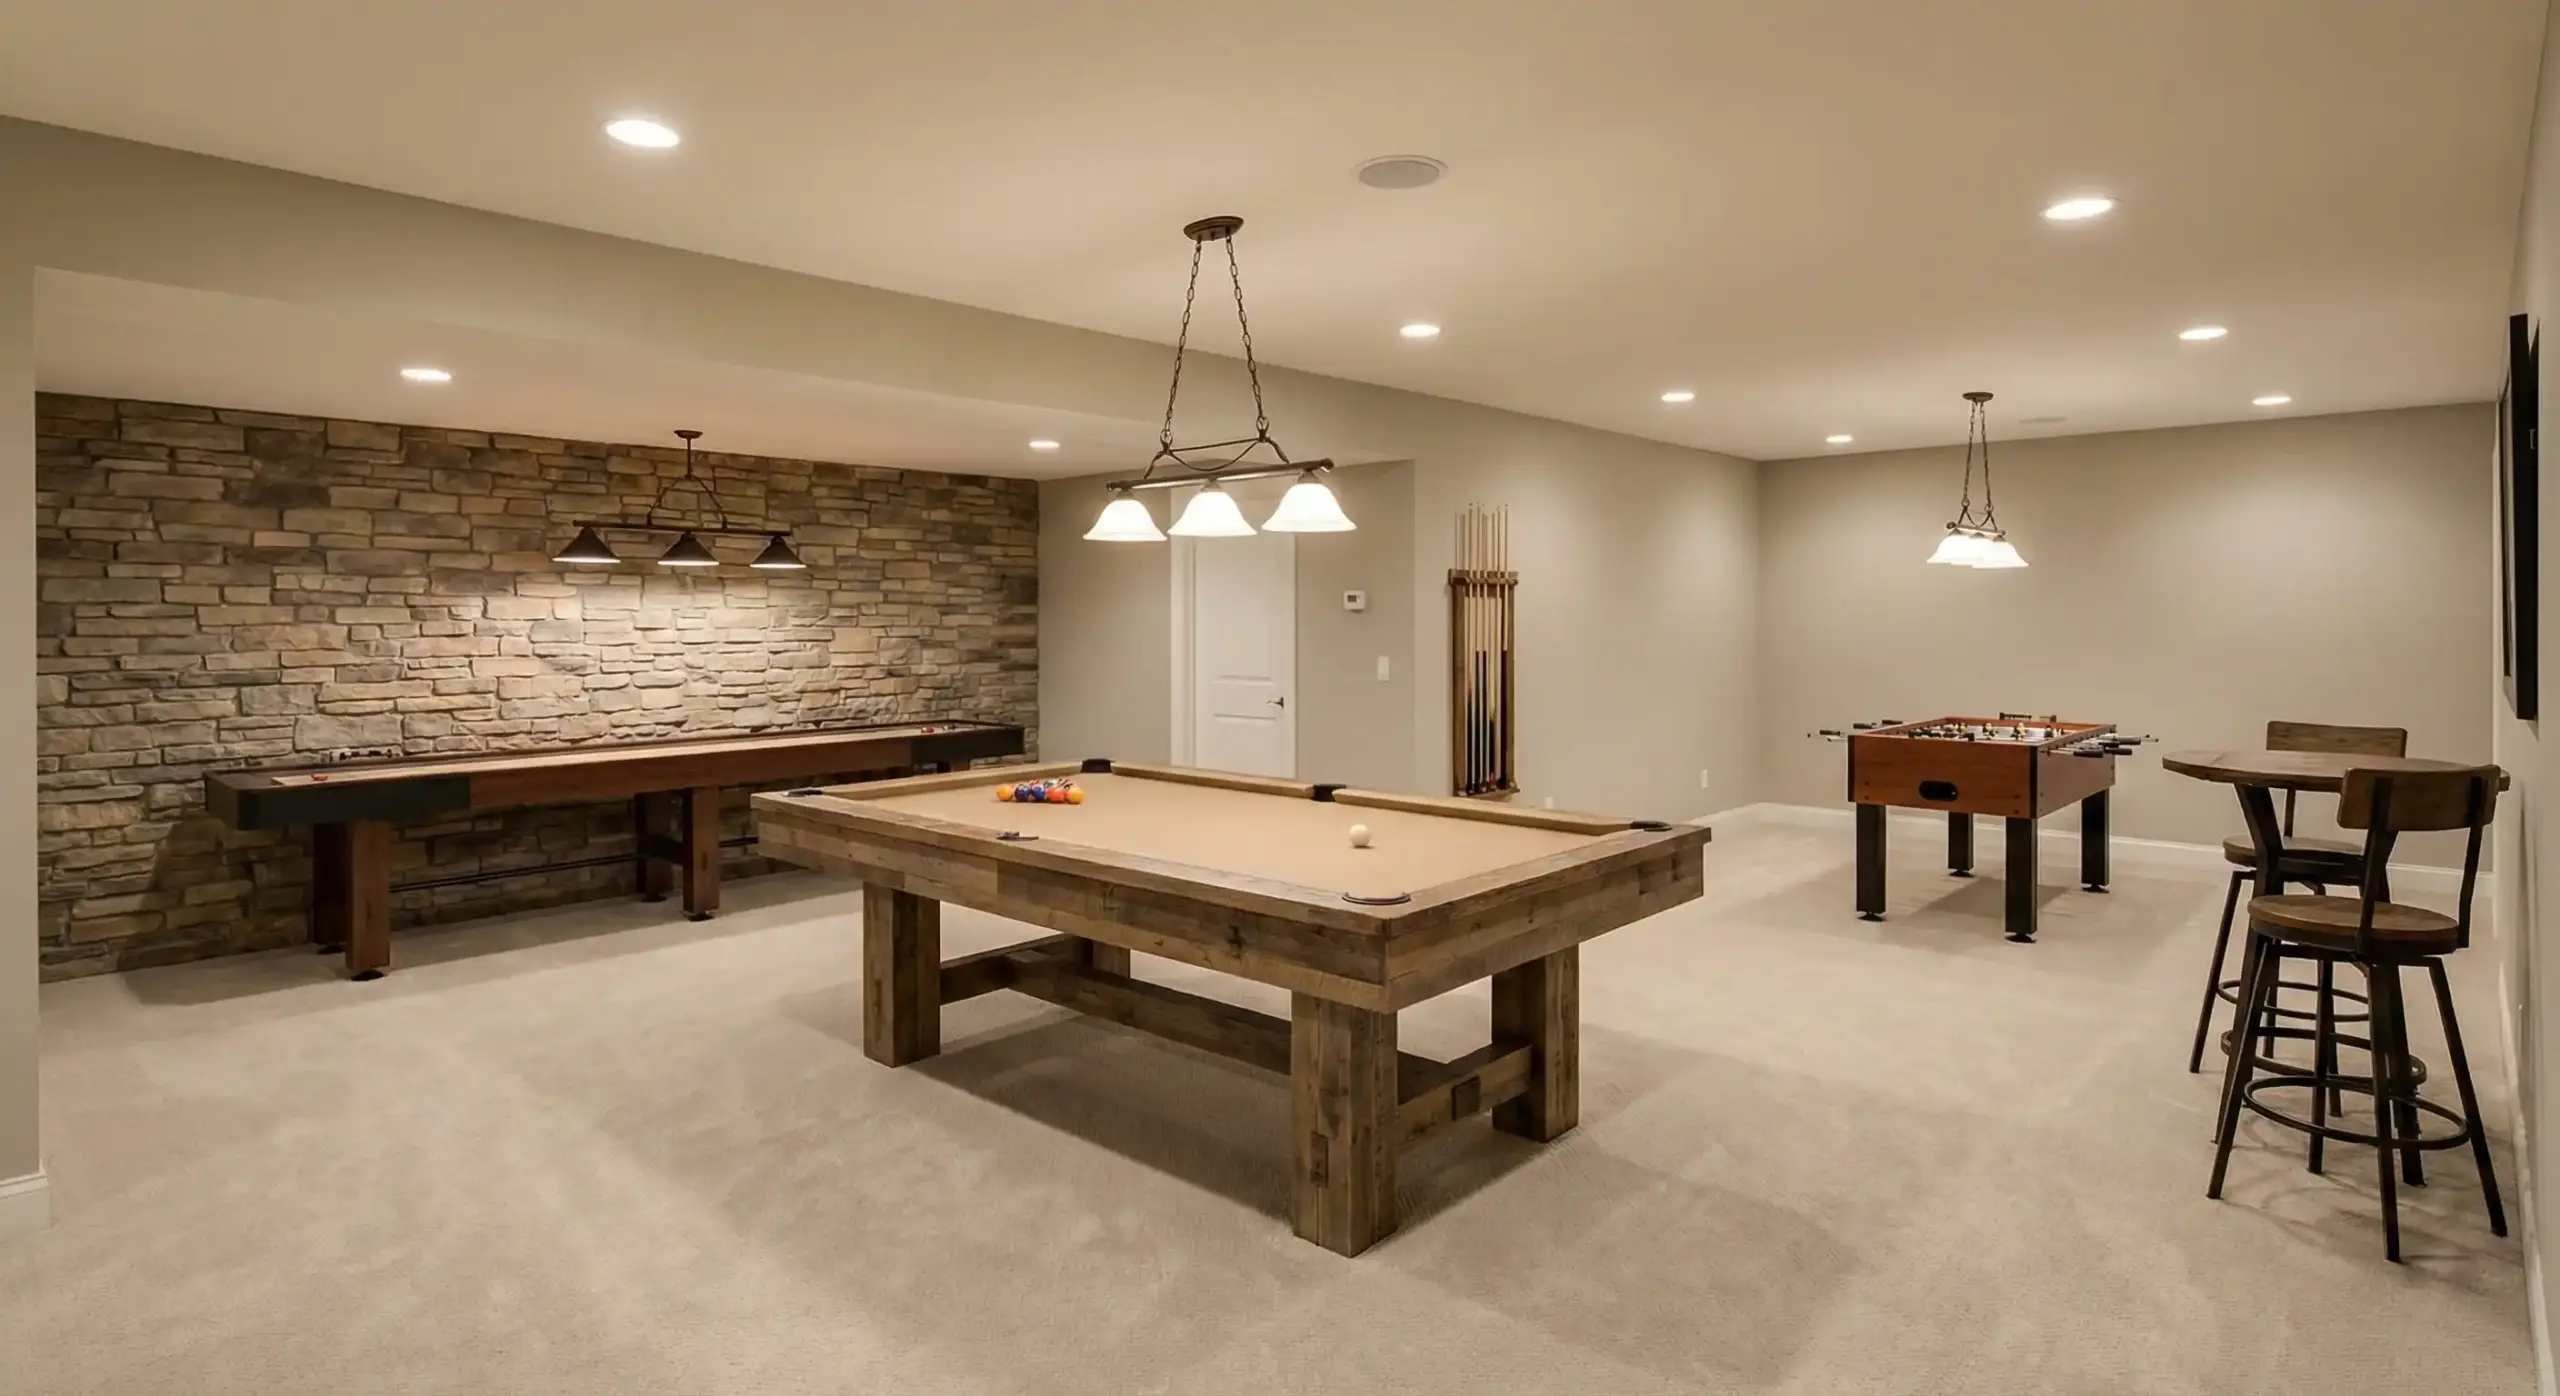
Where Should You Store Pool Table Accessories?
Your new table will come with cues, balls, racks, and chalk, and you need a plan for pool table accessory storage. Proper storage protects your equipment, especially preventing cues from warping, and keeps your game room looking tidy. The two main options are wall-mounted racks and freestanding floor stands.
Wall racks are excellent space-savers and display your cues nicely, but they require drilling into your wall. Combination wall racks that also hold balls and racks are very popular. Floor stands require no installation and are flexible in their placement, but they take up floor space. Many are designed as attractive corner units or even novelty pieces of furniture. Whichever you choose, place it in a location that is easily accessible but does not interfere with player movement or get in the way of shots. A rack that complements the finish of your pool table can be a stylish and functional addition to the room.
Frequently Asked Questions (FAQ)
What happens if my room is slightly too small for a standard cue?
- If your room is just a bit shy of the recommended dimensions for a standard 58-inch cue, the easiest solution is to use shorter cues. Cues are commonly available in 52-inch and 48-inch lengths. Using a cue that is 6 inches shorter reduces the required space on that side by 6 inches, giving you an extra foot of functional space overall. It’s a good idea to keep a “shorty” cue on hand anyway for occasional shots blocked by a pole or furniture.
Can a pool table be installed on the second floor of a house?
- Yes, in most cases. Modern homes built to standard building codes typically have upper floors with joists strong enough to support the distributed weight of a 7, 8, or even 9-foot slate pool table without needing extra reinforcement. However, if your home is older or you have any concerns about the floor’s integrity, it is always best to consult a structural engineer for an assessment before delivery.
How long does professional pool table installation take?
- A standard professional installation for a new slate pool table typically takes between 4 and 6 hours. The duration can vary depending on the size and complexity of the table, the accessibility of the room, and whether the installers also need to disassemble and move an old table. The most time-consuming part is the precise leveling of the slate.
Conclusion
Successfully preparing your home for a pool table delivery is a project of careful planning. It begins with choosing a table size that fits your room and playing style, followed by the critical tasks of measuring your room for cue clearance and ensuring the delivery path is wide enough. You must assess your floor’s ability to support the table’s significant weight and prepare the room by clearing it completely for the installers. Investing in proper, dedicated lighting and planning for accessory storage are the final touches that transform a room with a table into a true game room. By taking these steps, you ensure a smooth installation and set the stage for years of enjoyment. The effort you put in before the table arrives will be rewarded every time you rack the balls for a new game.
For expert advice on choosing the right pool table and professional installation services in the Greater Toronto Area, contact Pool Table Store today.