A worn, torn, or stained pool table felt does more than just look bad—it directly impacts your game. The smooth roll of the ball is replaced by unpredictable swerves, and the satisfying sound of a clean shot is lost. Whether you own a cherished family heirloom or a modern Brunswick table, the quality of its playing surface is paramount. Deciding to refelt your table is the first step toward restoring its precision and beauty, but it immediately brings up a critical question: should you tackle this as a DIY project, or is it a job best left to the professionals?
This guide is designed to help every Canadian pool table owner make that decision with confidence. We’ll break down the costs, time, and risks of a DIY pool table refelting and compare it to hiring an expert technician. For the ambitious DIYer, we provide a detailed step-by-step process, and for those who value peace of mind, we outline what to look for in a professional pool table service.
Key Takeaways
- The decision to refelt a pool table yourself versus hiring a professional depends on your budget, timeline, technical skill, and the value of your table.
- Choosing the right cloth is critical; worsted wool cloths like Simonis offer superior speed and durability compared to standard woolen cloths.
- A DIY job can save money but carries risks, such as improper stretching or damaging the slate, which can lead to costly repairs.
- Hiring a certified technician is strongly recommended for high-end, antique, or three-piece slate tables to ensure a flawless, long-lasting result.
- Proper care, including regular brushing and keeping the table covered, will significantly extend the life of your new felt.
Should You DIY or Hire a Professional? A Head-to-Head Comparison
Before you buy materials or book a service, it’s essential to understand the trade-offs. This head-to-head comparison breaks down the key differences to help you decide.
| Factor | DIY Refelting | Professional Service |
| Total Cost | $300 – $950 (Cloth + Supplies) | $600 – $1100+ (All-inclusive) |
| Time Commitment | 6 – 10 hours (A full weekend is recommended) | 2 – 4 hours |
| Skill Level | Moderate to High. Requires patience, precision, and physical strength. | Expert. Certified technicians have extensive experience. |
| Potential Risks | Improper felt tension, wrinkles, damage to slate or rails, costly mistakes. | Minimal. Work is typically insured and guaranteed for a perfect result. |
Our Recommendation: Who Should Choose DIY and Who Should Hire a Pro?
Choose DIY if you are on a tight budget, have a standard or older table you’re not afraid to work on, and possess a high level of patience and practical skill.
Hire a professional if you own a premium table (like a Brunswick or Olhausen), an antique table, or a three-piece slate table. If you want a guaranteed, flawless result without investing your entire weekend, the professional pool table service is the clear choice.
The Ultimate DIY Pool Table Refelting Guide
If you’ve decided to take on the challenge yourself, this guide will walk you through the process. Preparation is key to a successful outcome. For those who prefer a visual demonstration, video guides can be an invaluable resource.
Step 1: Choosing the Right Felt for Your Table (and Where to Buy It in Canada)
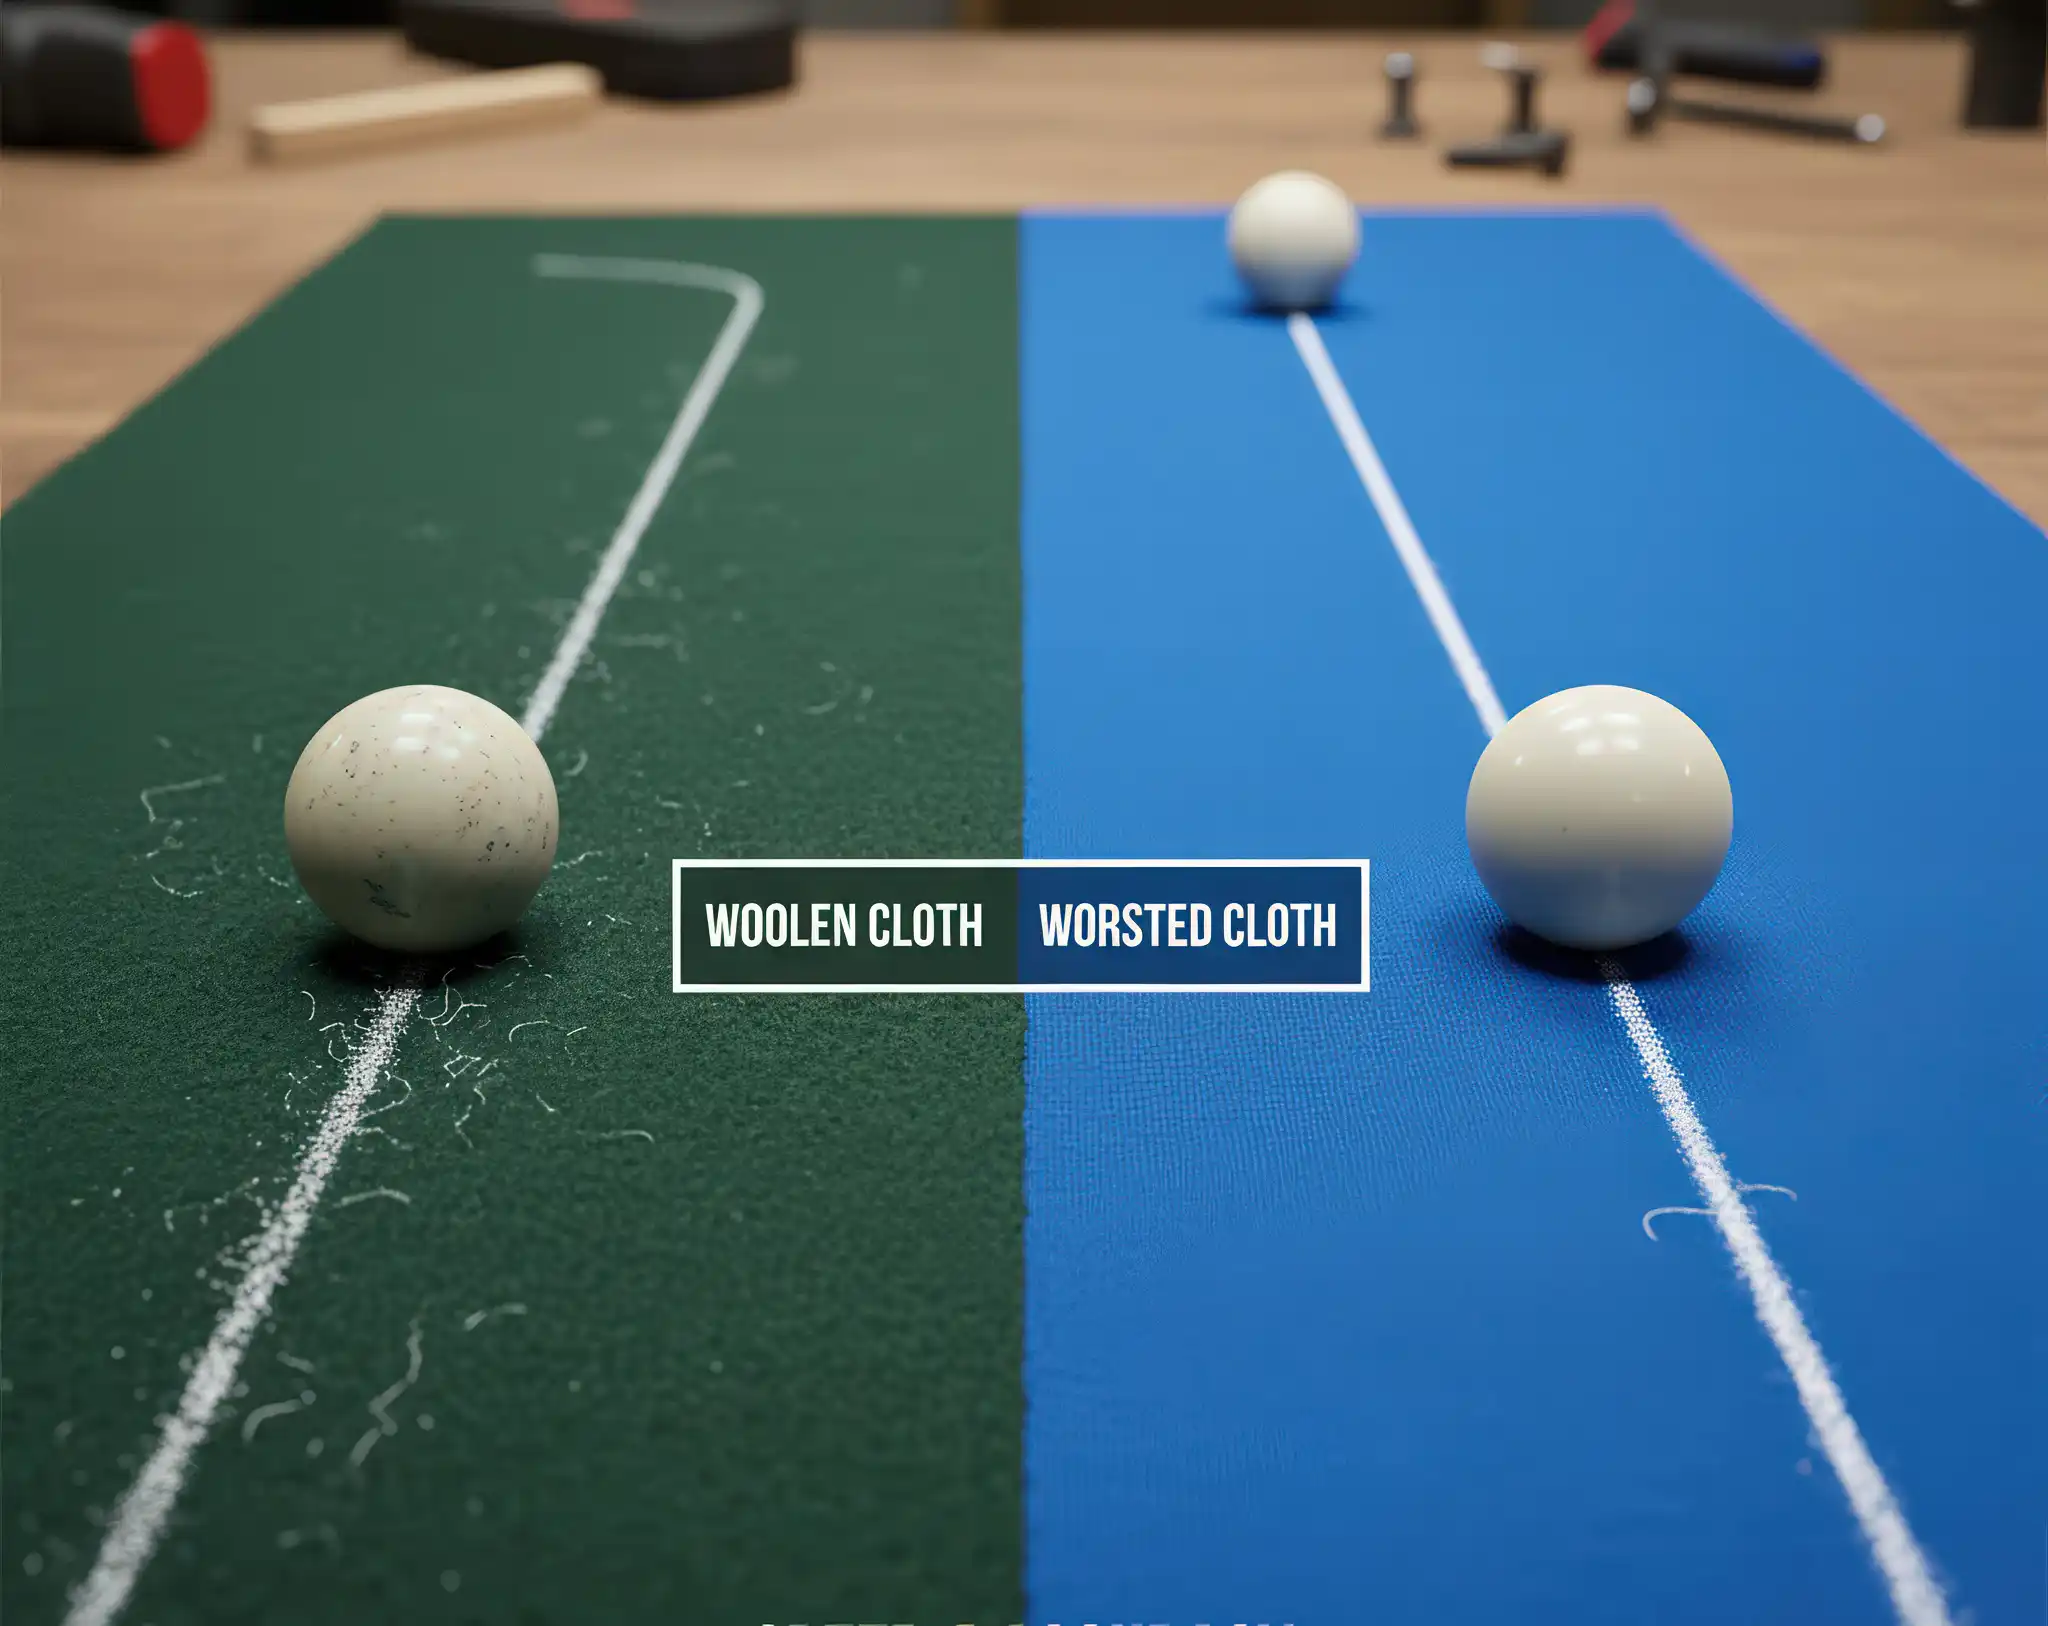
Woolen vs. Worsted Cloth: What’s the Difference?
Woolen cloth is the standard, napped felt you’ll find on most residential tables. It’s affordable and durable but has a fuzzy texture that can make the table play “slower.” Worsted cloth, often called speed cloth, is woven and sheared to create a perfectly smooth, flat surface. It provides superior speed, accuracy, and longevity, making it the choice for tournaments and serious players.
Top Brands Available in Canada (Simonis, Championship, etc.)
Simonis is the industry leader in worsted cloth, renowned for its performance and durability. Championship is another excellent brand that offers high-quality woolen and worsted options. Both are widely available in Canada.
Recommended Canadian Retailers (Online and In-Store)
Look for specialty billiard stores and dedicated online suppliers in Canada. These retailers will not only sell you the correct size of cloth for your table but can also provide advice on the best type for your needs and budget.
Step 2: Gathering Your Tools and Materials
The Essential Toolkit Checklist
| Tool / Material | Purpose / Note |
| Replacement pool table cloth | Sized specifically for your table (e.g., 7ft, 8ft, 9ft). |
| Socket wrench set | For removing the rail bolts. |
| Flathead screwdriver or pry bar | To gently remove old staples. |
| Razor knife or utility blade | For trimming cloth and scraping wax. |
| Heavy-duty staple gun & staples | Staples should be 1/4″ to 3/8″ for a secure hold. |
| Spray adhesive (e.g., 3M Super 77) | Required for tables with unbacked slate. |
| Beeswax or slate seam filler | For creating a perfectly level surface on 3-piece slates. |
| Machinist’s level | Essential for ensuring the table is perfectly level. |
| Shop vacuum and cleaning cloths | For thoroughly cleaning the slate before installation. |
Glue vs. Staples: Which is Right for Your Table?
The method depends on your table’s construction. Most tables have a wood backing attached to the slate, allowing you to use staples for a secure fit. Some tables, particularly commercial or some high-end models, may have unbacked slate, which requires a specialized contact adhesive.
Step 3: Disassembling the Rails and Removing the Old Felt
Start by carefully unbolting and removing the rails using your socket wrench. Keep track of which rail goes where. Once the rails are off, use a pry bar or staple puller to remove the old felt from the slate, being careful not to scratch the surface.
Step 4: Preparing the Slate for the New Felt (The Most Important Step)
This step is crucial for a smooth playing surface. Thoroughly vacuum the slate to remove all dust and debris. For three-piece slate tables, check that the seams are level and fill any gaps with melted beeswax, scraping the excess away with a razor blade for a perfectly flat surface. Finally, confirm the entire slate is level.
Step 5: Installing the New Felt on the Slate
Drape the new cloth over the table. Start at one end, stapling the cloth to the underside of the wood backing every few inches. Move to the opposite end, gently but firmly stretching the cloth as you go, and staple it in place. Repeat this process for the sides, working to eliminate all wrinkles for a taut, smooth surface.
Step 6: Refelting the Rails and Bumpers
This is a detailed process. Remove the old cloth from the rails. Lay the new, pre-cut rail cloth strips over the cushions. Starting in the middle and working your way out, stretch the cloth tightly and staple it into the groove on the underside of the rail.
Step 7: Reassembling Your Table and Final Touches
Carefully place the rails back onto the table and bolt them securely in place. Trim any excess felt from around the pockets. Give the table a final check with your level and make any minor adjustments needed.
Pro Tip: Common DIY Mistakes and How to Avoid Them
- Uneven Stretching: Always stretch from the center outwards to ensure consistent tension across the entire table.
- Not Cleaning the Slate: Any debris left on the slate will create bumps and uneven rolls. Be meticulous.
- Rushing the Job: Take your time. A rushed job will show in the final product.
Hiring a Professional Pool Table Refelting Service in Canada
For many, hiring an expert is the best way to protect their investment and guarantee a perfect playing surface.
How Much Does It Cost to Refelt a Pool Table in Canada? (2025 Price Guide)
Average Cost by Province and Major City (Toronto, Vancouver, Calgary, Montreal)
While prices vary based on location, the average professional refelting cost in major Canadian cities like Toronto is between $600 and $900. This cost can fluctuate depending on regional labour rates and travel distance for technicians.
Factors That Affect the Price (Table Size, Felt Quality, etc.)
The final price will depend on three main factors:
- Table Size: A 9-foot table requires more cloth and time than a 7-foot table.
- Felt Quality: Choosing a premium worsted cloth like Simonis will cost more than a standard woolen cloth.
- Additional Repairs: If your cushions are dead or the slate needs significant leveling, this will add to the cost.
How to Find and Vet the Best Pool Table Technicians
Questions You MUST Ask Before Hiring
- Are you insured?
- Do you guarantee your work?
- What brands of cloth do you offer?
- How much experience do you have with my brand of table (e.g., Brunswick, Olhausen)?
- Does your quote include all materials and labour?
Red Flags to Watch Out For
Be wary of any service that provides a vague quote over the phone without asking detailed questions about your table. A lack of professional insurance, a poor online reputation, or an unwillingness to guarantee their work are all significant red flags.
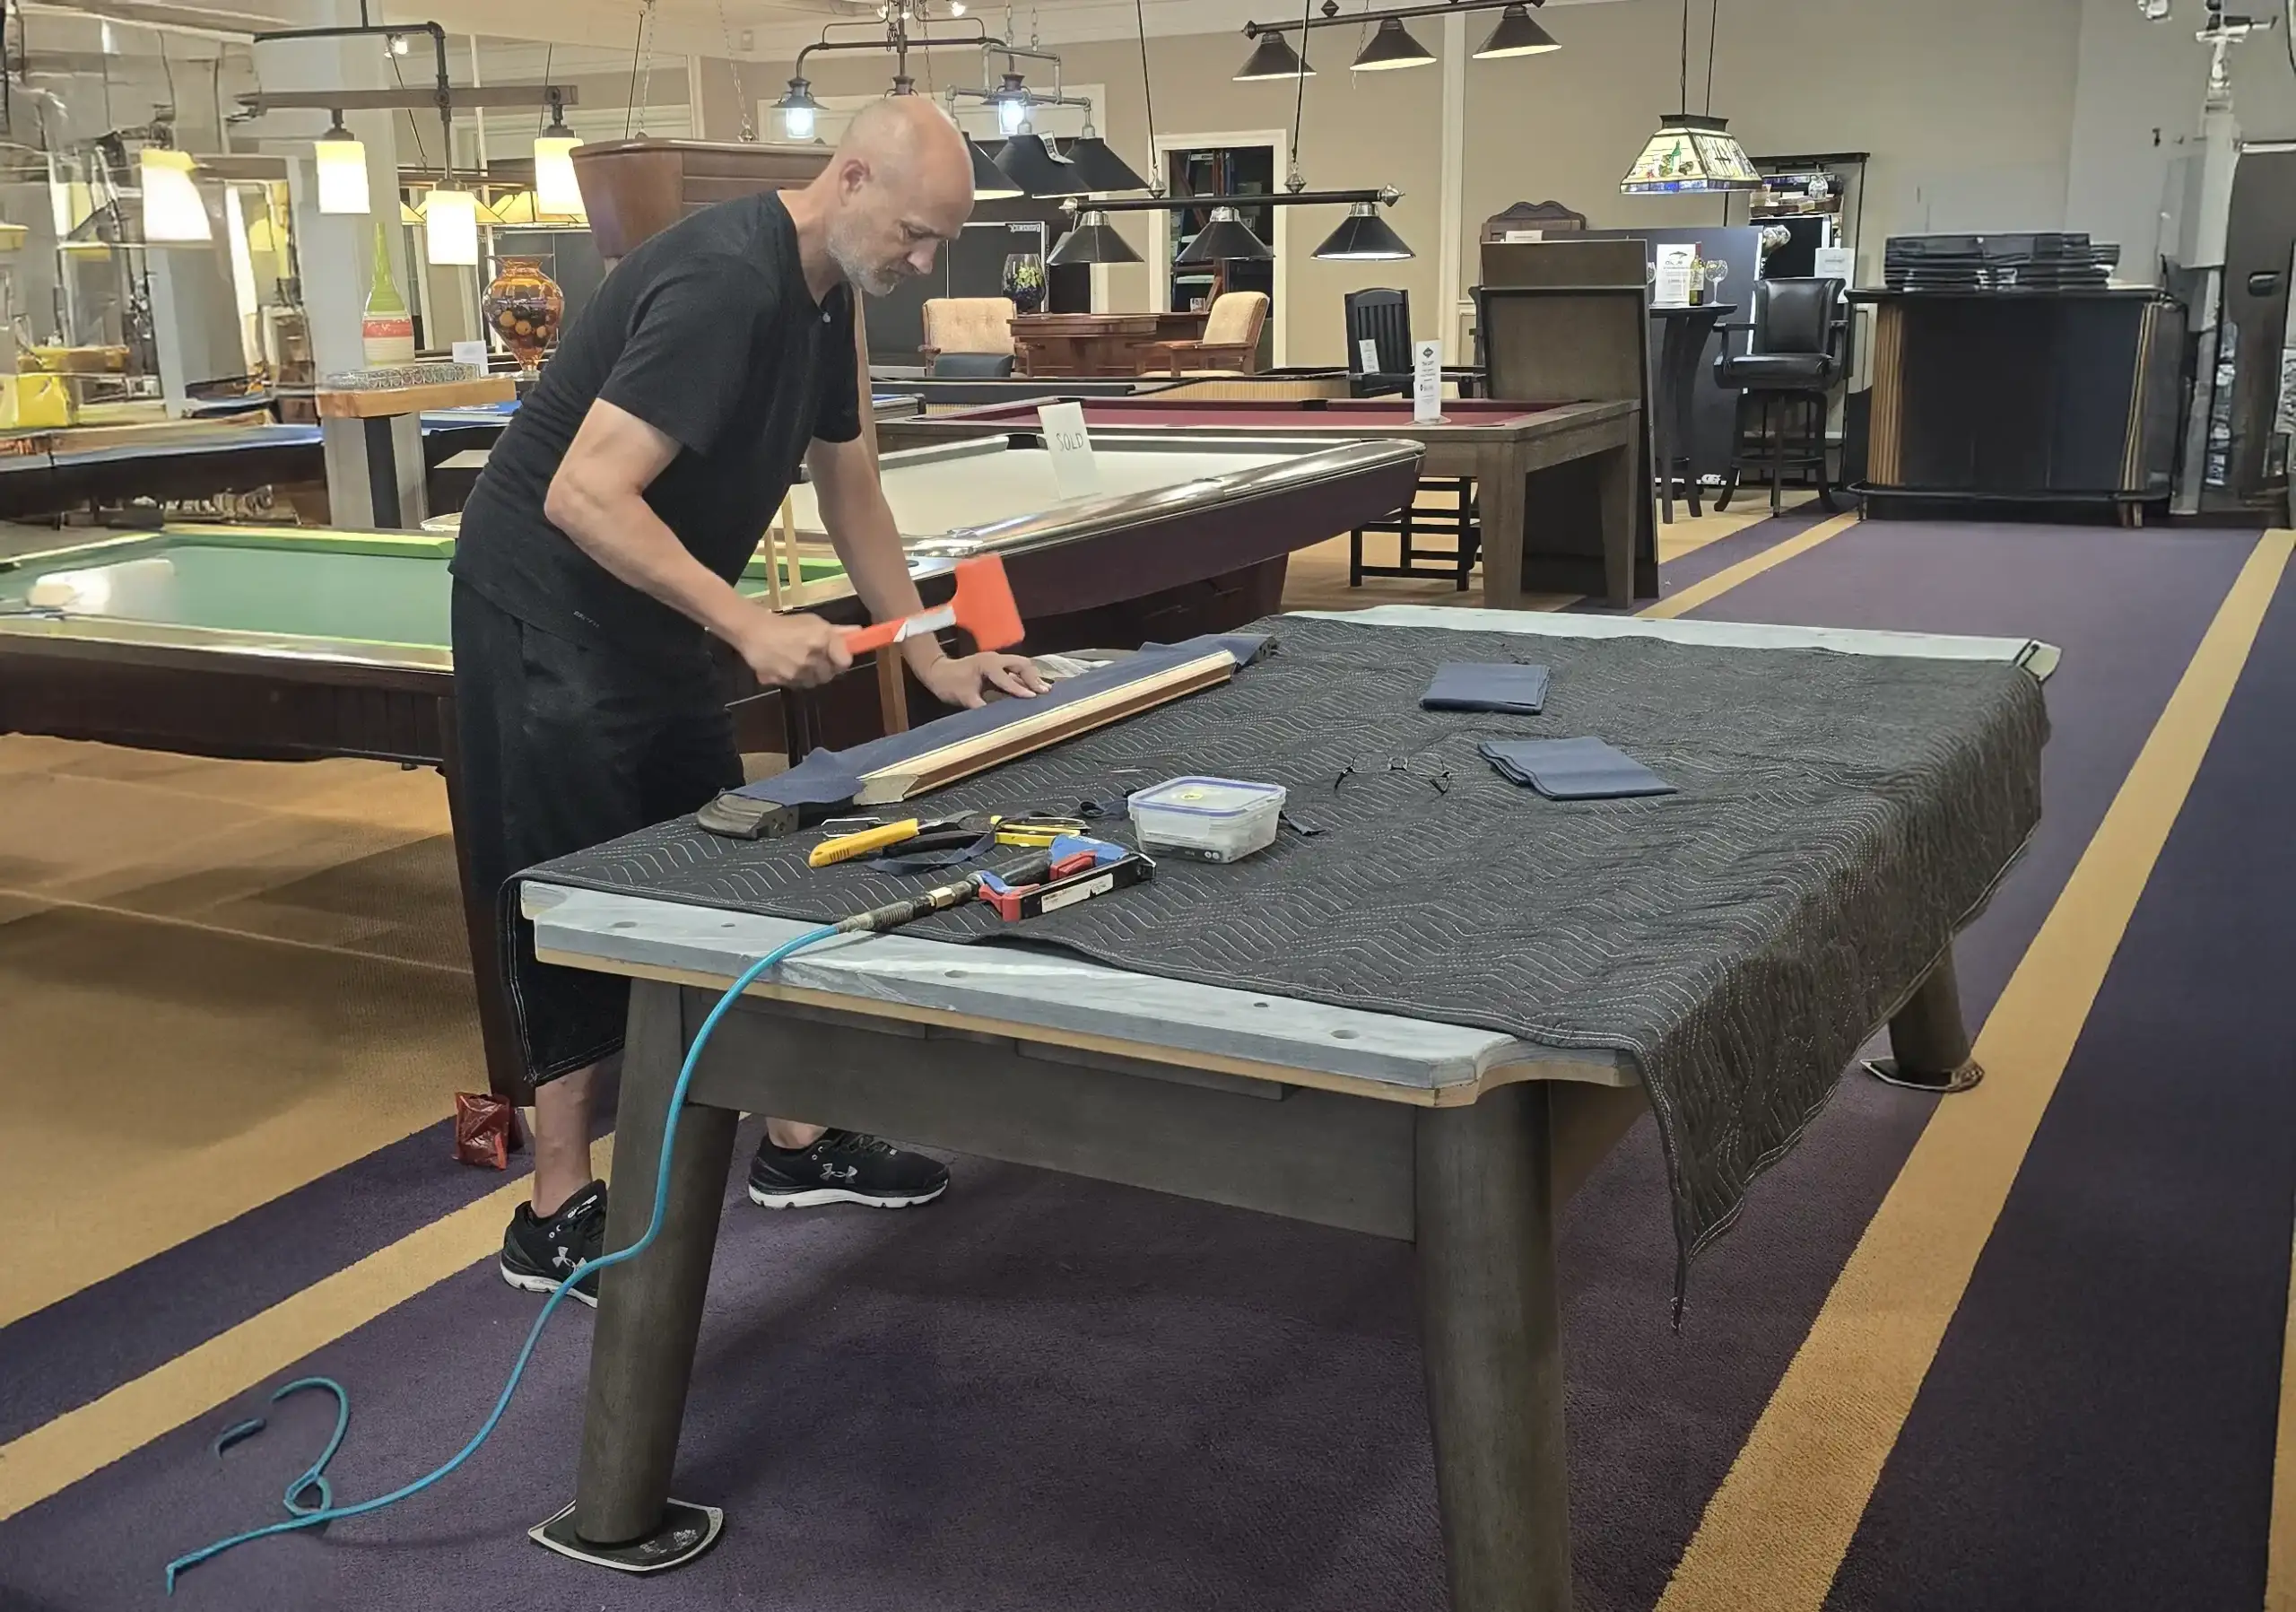
What to Expect During a Professional Refelting Service
A professional technician will arrive with all the necessary tools and your chosen cloth. They will work efficiently, protecting your home and the table during the process. They will completely disassemble the rails, remove the old felt, prepare the slate, install the new felt with perfect tension, and reassemble the table, ensuring it is perfectly level before they leave.
Caring for Your Newly Refelted Pool Table
Protect your investment with proper billiard table maintenance to keep the felt playing like new for years to come.
Daily, Weekly, and Monthly Maintenance Tips
- Keep the table covered when not in use to protect it from dust, spills, and sunlight.
- Avoid placing food or drinks on the rails.
- Brush the table after every few sessions of play.
The Right Way to Brush and Vacuum Your Table
Always use a proper pool table brush. Brush in a straight line from the head of the table to the foot, never in a circular motion. This pushes chalk dust to the end of the table where it can be vacuumed up. If you use a vacuum, only use a low-suction, non-rotating brush attachment. Having the right pool table accessories makes this job much easier.
How to Handle Spills and Stains
Act immediately. Blot any liquid spills with a clean, dry microfiber cloth. Do not rub, as this will spread the stain and damage the felt fibers. If a stain remains, use a cloth lightly dampened with water and blot gently.
Frequently Asked questions (FAQs)
How often should you refelt a pool table?
- For a table in a home environment, the felt typically lasts between 5 and 10 years, depending on the amount of play. In a commercial setting like a bar or pool hall, the felt may need to be replaced annually.
Can you reuse pool table felt?
- No. Pool table felt is stretched tightly and stapled or glued into place. Once it is removed, it cannot be re-stretched to achieve the proper tension and will be full of staple holes.
What kind of glue is used for pool table felt?
- For tables that require adhesive, professionals use a high-quality spray contact cement, such as 3M Super 77. It provides a strong bond without soaking through the cloth.
How long does it take for the new felt to “break in”?
- A high-quality worsted cloth requires virtually no break-in period and will play perfectly from the start. A standard woolen cloth may feel slightly “fuzzy” or slow for the first few games as the fibers settle.
Conclusion
Whethear you choose the rewarding challenge of a DIY pool table refelting or the guaranteed precision of a professional service, replacing your old felt is the single best way to revitalize your game. A smooth, clean surface ensures every shot is true and every game is enjoyable. By weighing the costs, time, and your own skills, you can make the right choice for your table and get back to sinking shots with confidence.
For professional pool table refelting Toronto and the GTA, contact Hallmark Billiards today.