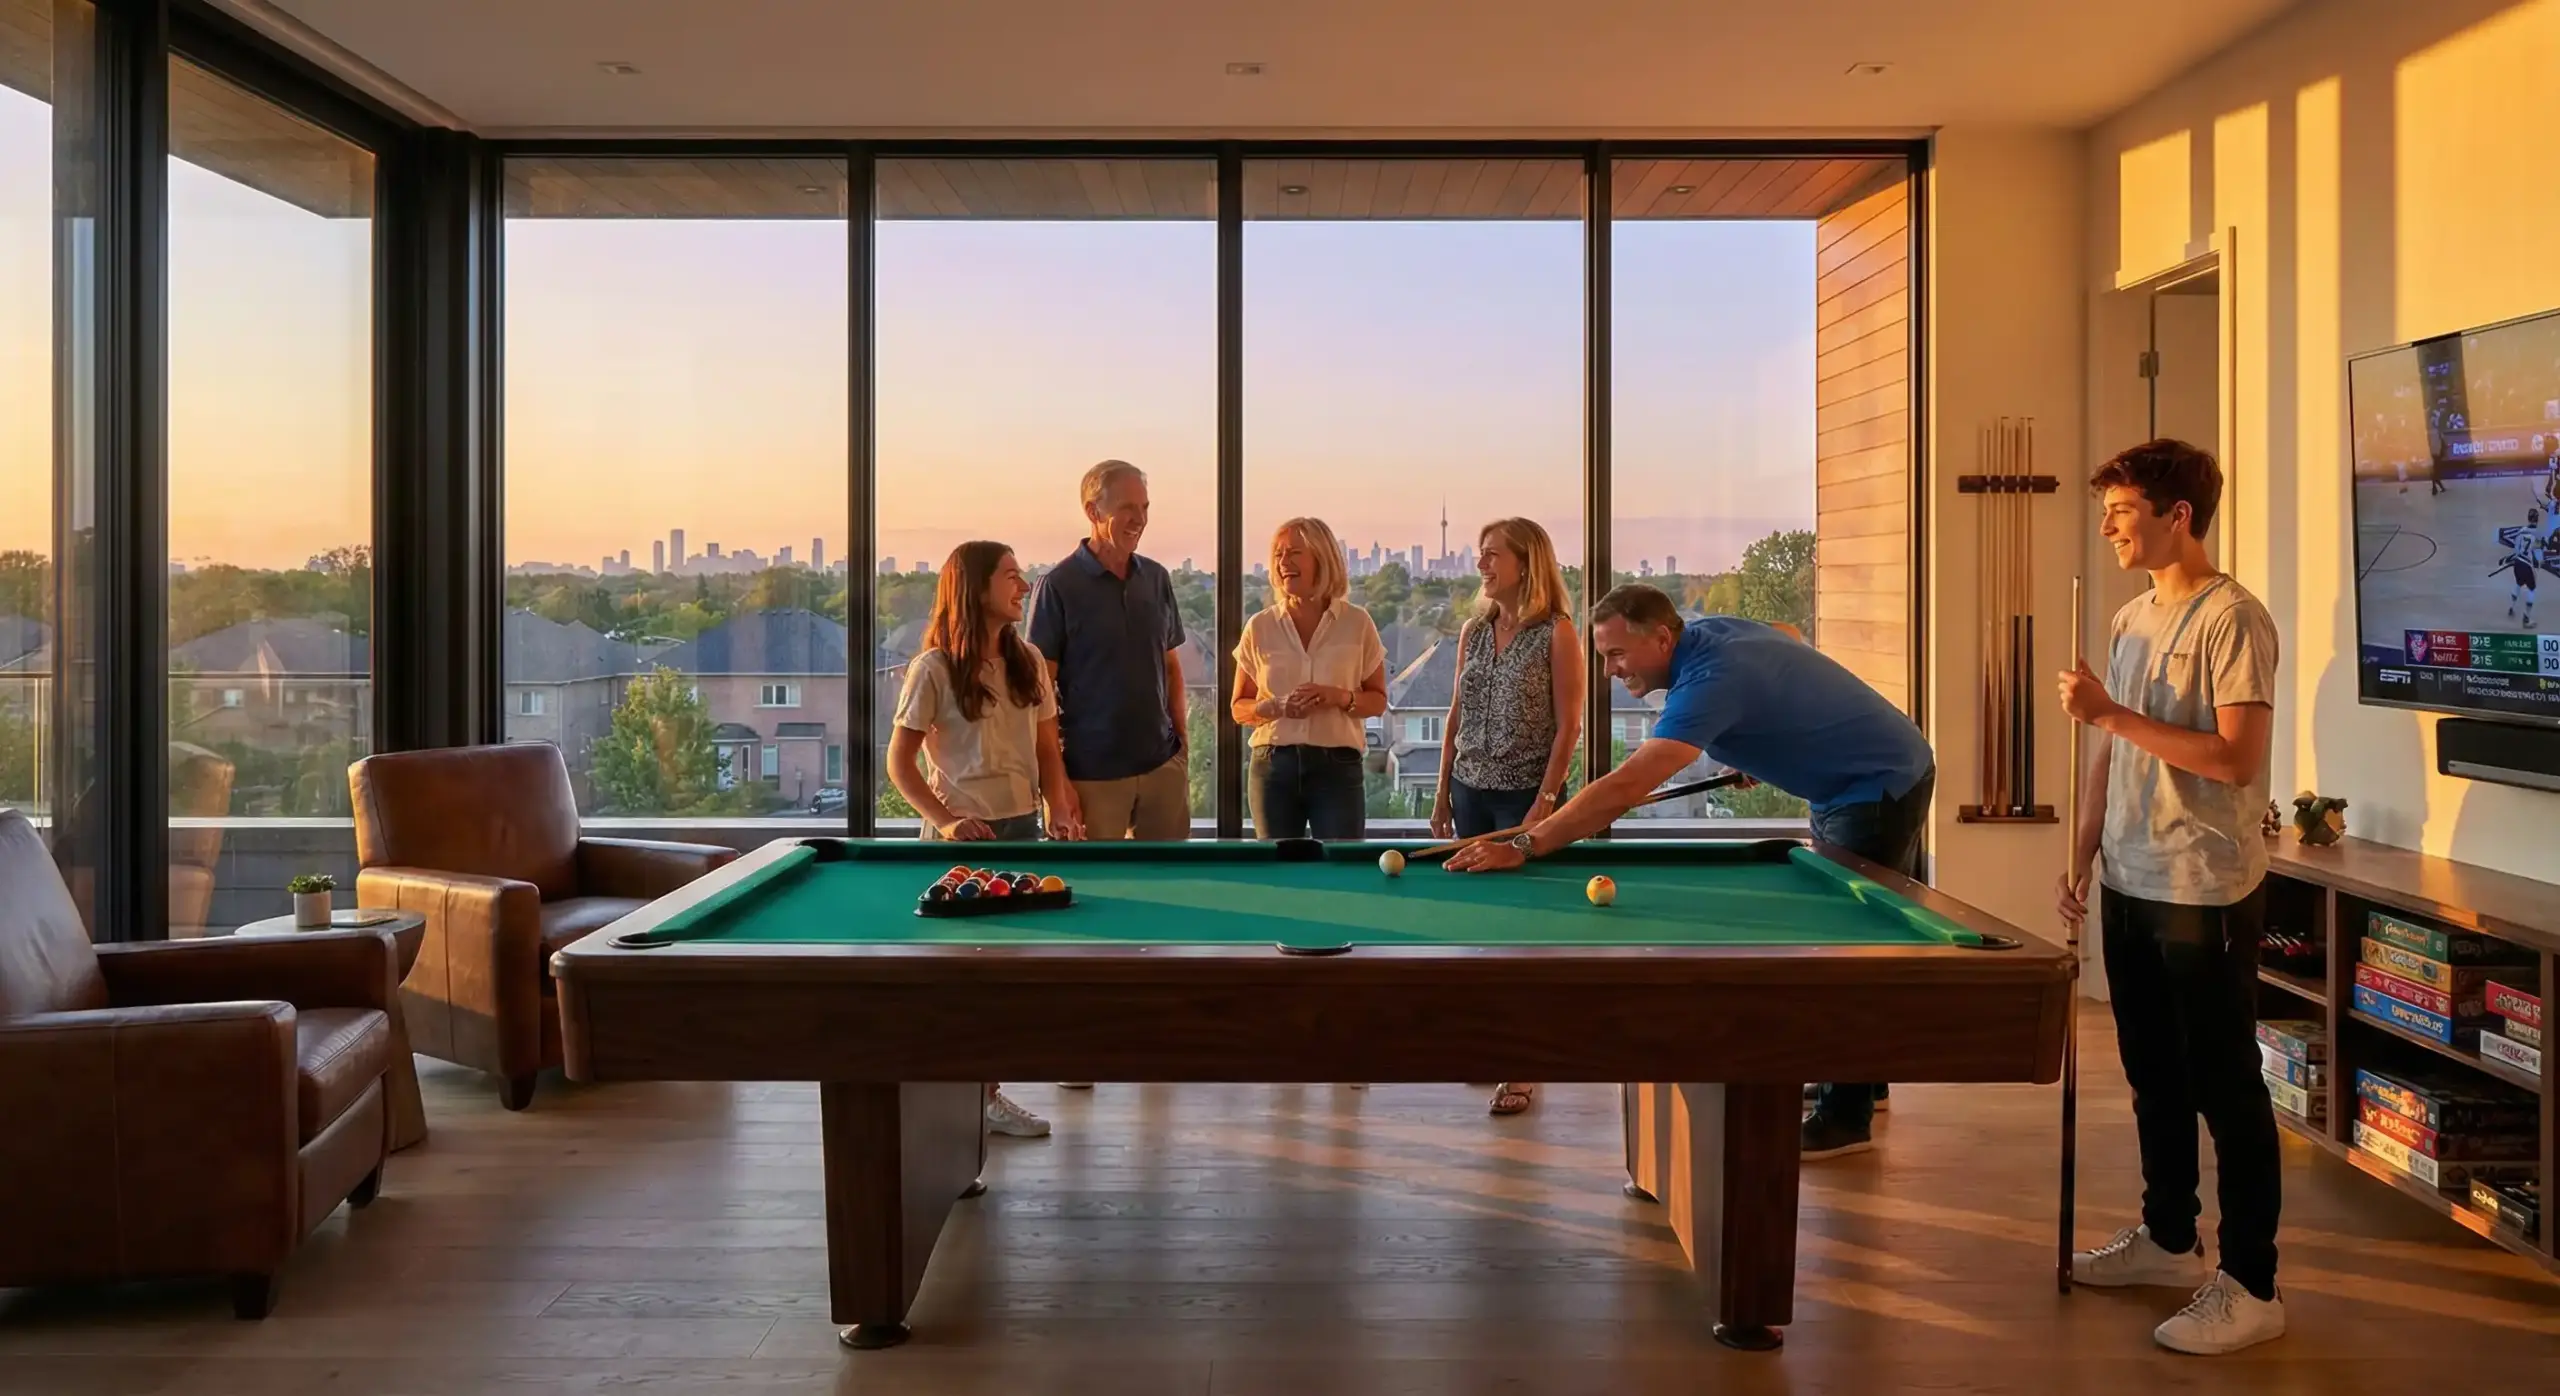
Building a shuffleboard table is a rewarding woodworking project that creates a handcrafted heirloom for generations of enjoyment. However, the allure of a custom-built table can quickly be overshadowed by unforeseen complexities, costs, and the immense time commitment required. This guide provides a realistic, expert-level framework for navigating every stage of the process, from deciding if a DIY build is right for you to applying the final, glass-smooth finish.
Key Takeaways
- A DIY shuffleboard table is a significant investment of time and money, often requiring 64 hours of work and a budget of $800 to $1,320.
- The most critical component is the playing surface; North American Hard Maple is the gold standard for its durability and stability.
- Climatic adjusters are non-negotiable; they prevent the playing surface from warping and are essential for long-term playability.
- The choice between a poured epoxy resin and an oil-based polyurethane finish involves a trade-off between extreme durability and ease of application and repair.
- A realistic cost analysis often reveals that the total investment for a DIY build approaches the price of a professionally crafted table from brands like Brunswick or Olhausen, especially when factoring in the cost of specialized tools and the value of your time.
Should You Build or Buy? A Realistic Look at a DIY Shuffleboard Table
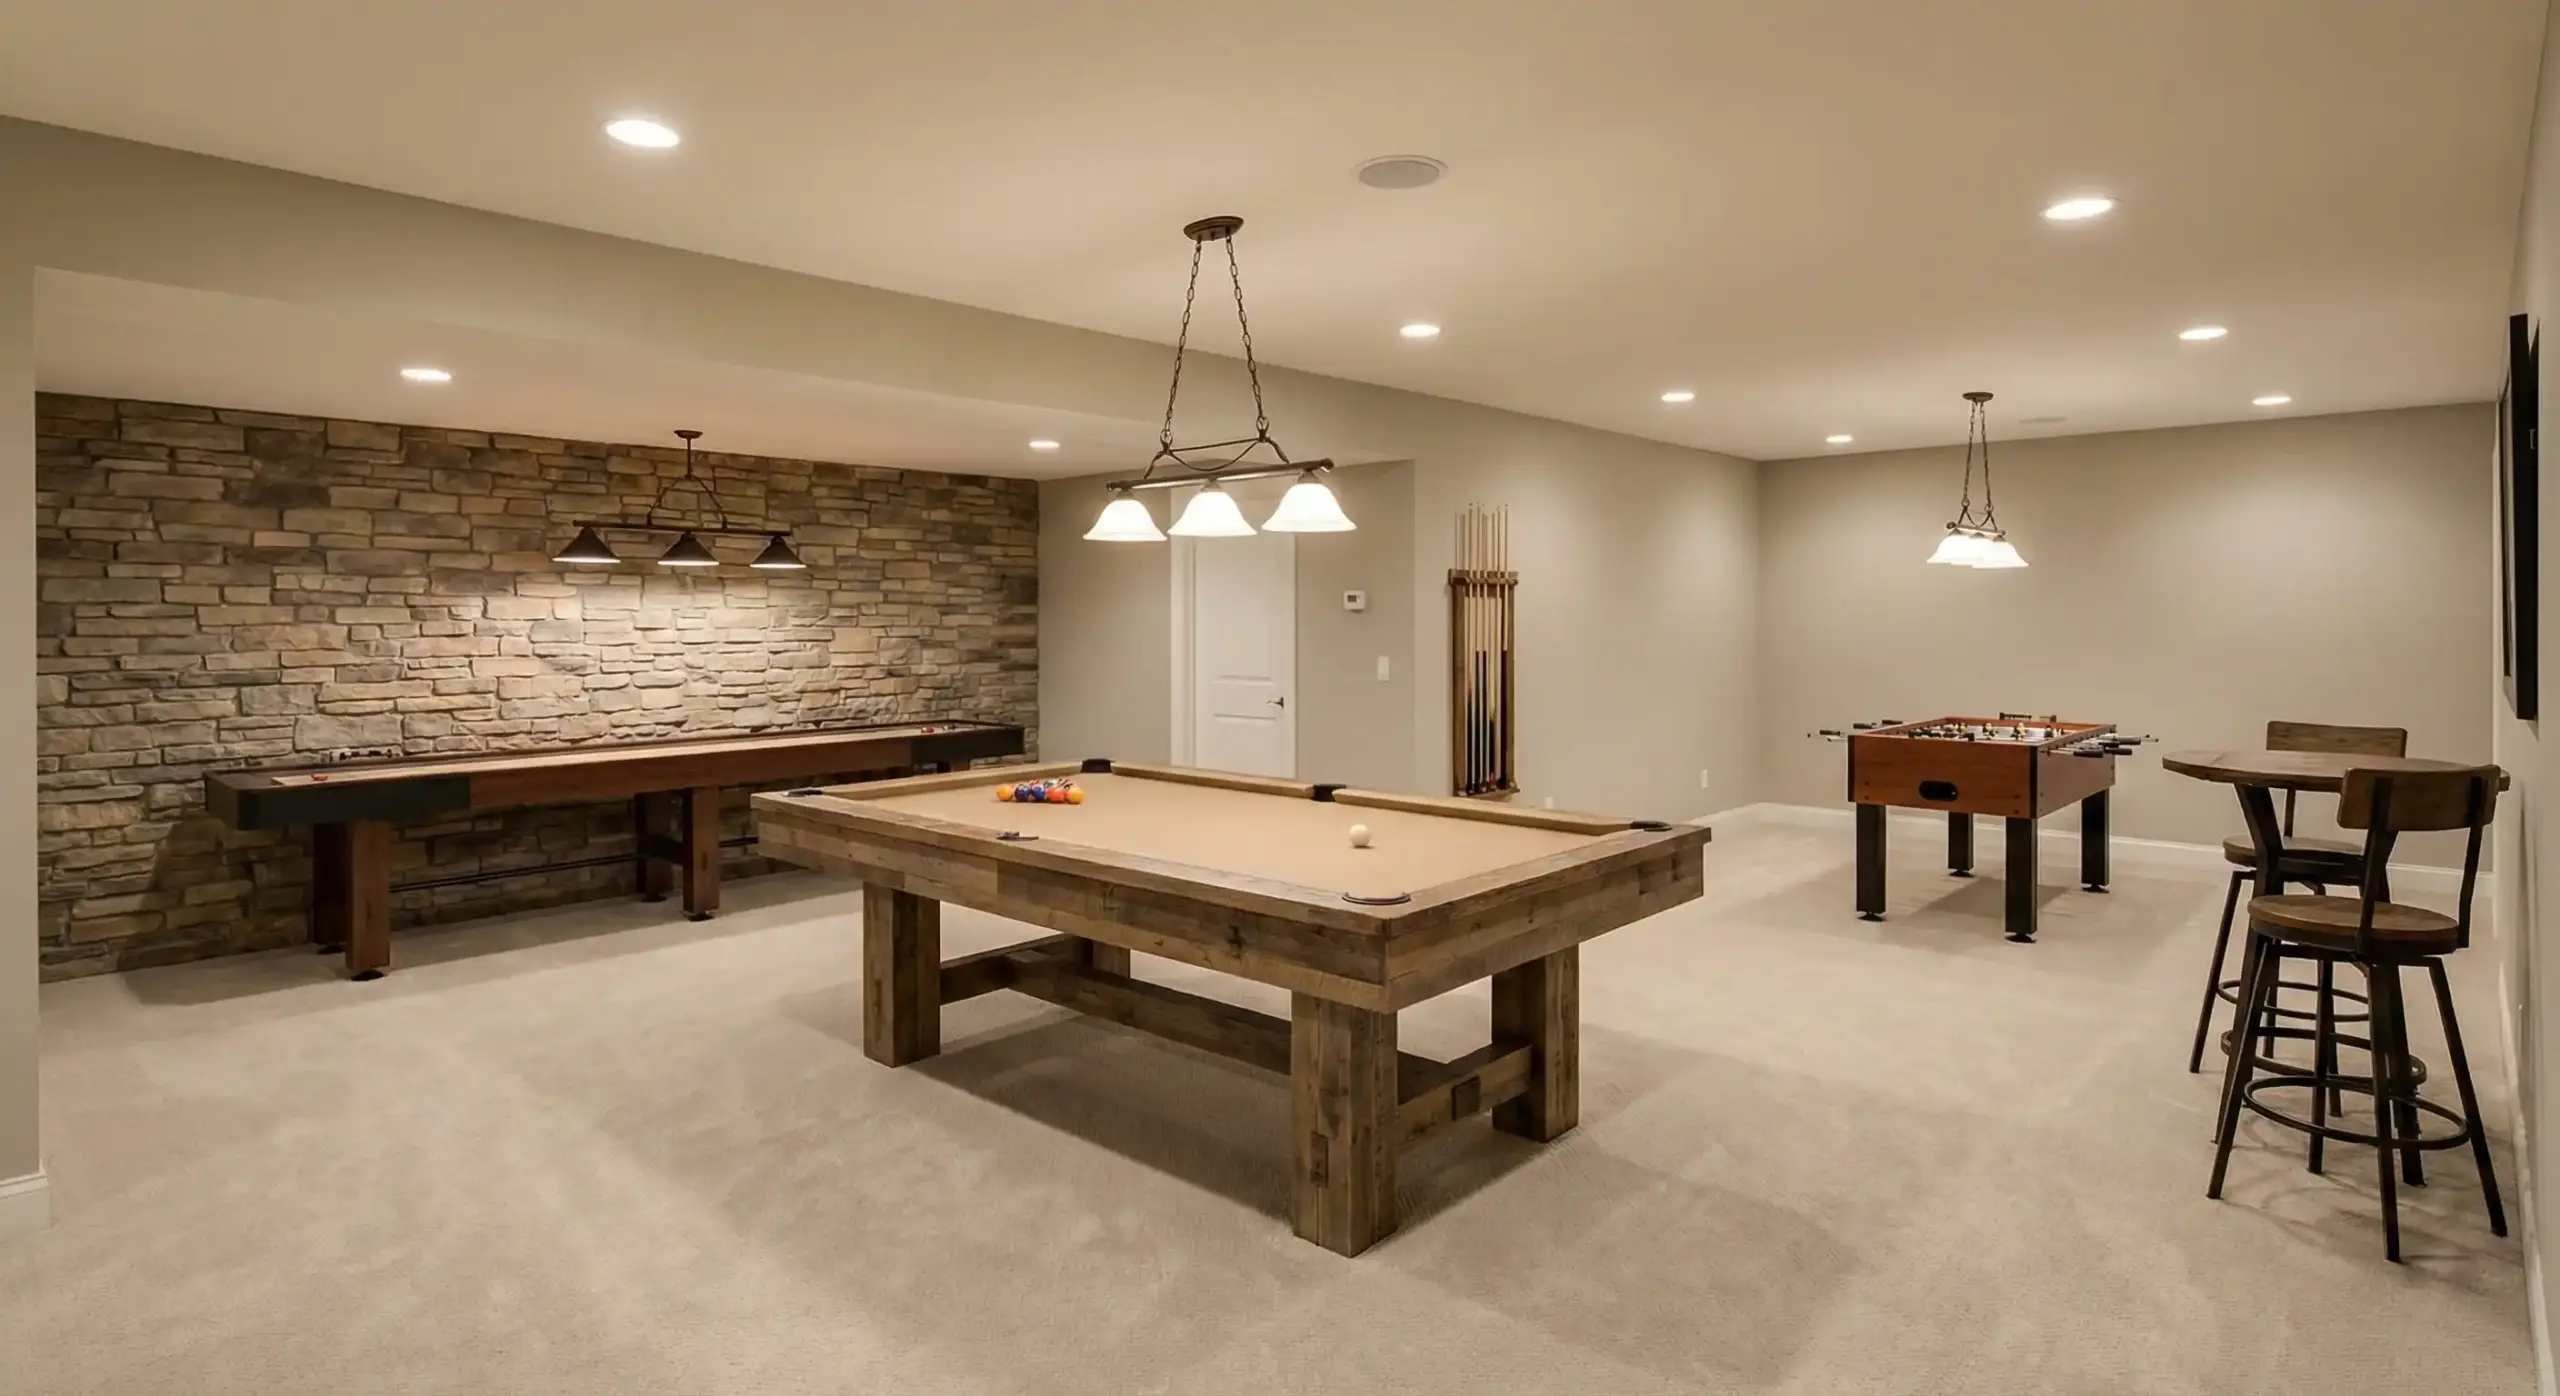
The Pros of a DIY Build: Customization, Pride, and Skill-Building
The most significant advantage of building your own shuffleboard table is the unlimited potential for customization. You have complete control over the design, materials, and finish, allowing you to create a unique piece that perfectly matches your game room’s aesthetic. Completing a project of this scale also offers an immense sense of pride and accomplishment, resulting in a functional work of art with a personal story. Furthermore, it’s an excellent opportunity to develop advanced woodworking skills, from milling and joinery to finishing techniques.
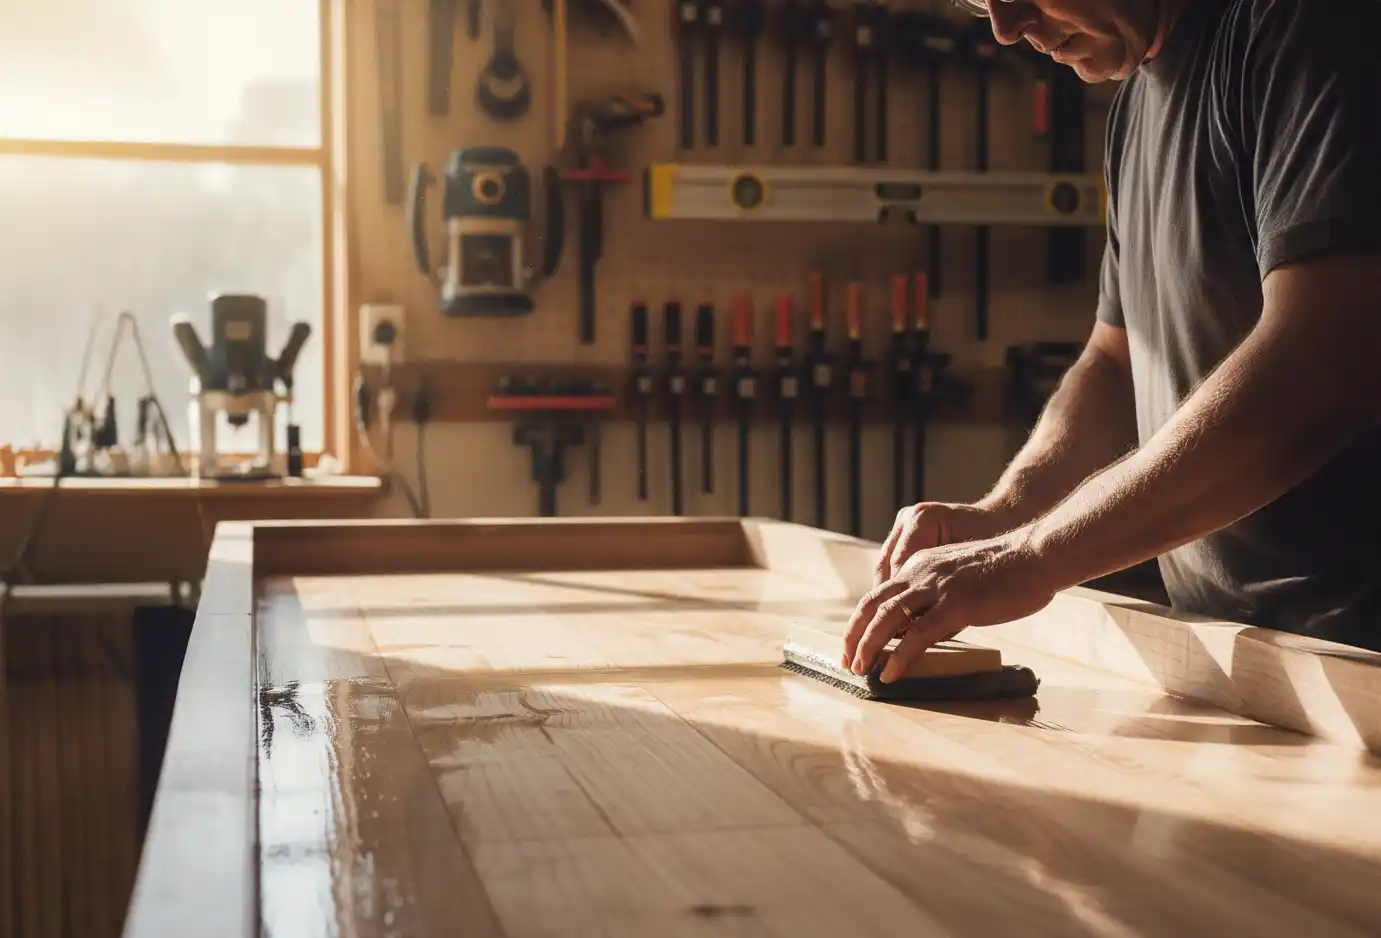
The Cons of a DIY Build: Time, Specialized Tools, and Potential for Costly Errors
The primary drawbacks of a DIY build are the substantial investments of time and money. A well-executed shuffleboard table requires a high degree of precision, and mistakes can be both costly and time-consuming to rectify. The project also demands a suite of specialized tools, such as a table saw, miter saw, router, and an extensive collection of clamps, which can significantly increase the overall cost if you don’t already own them. Furthermore, achieving a perfectly flat and smooth playing surface—the most critical aspect of the table—is exceptionally challenging without professional-grade equipment.
Cost Analysis: Comparing the True Cost of DIY vs. Buying a Professional Table (e.g., Brunswick, Olhausen)
While the material costs for a DIY shuffleboard table can range from $800 to $1,320, this figure doesn’t account for the purchase or rental of necessary tools, which can add several hundred dollars to the total. It also overlooks the value of the approximately 64 hours of labor required for construction. When you factor in these additional costs, the total investment for a DIY project can approach or even exceed the price of an entry-level professional table from a reputable brand like Brunswick or Olhausen. These professionally manufactured tables are built with high-quality materials, expert craftsmanship, and come with the assurance of a perfectly level and durable playing surface.
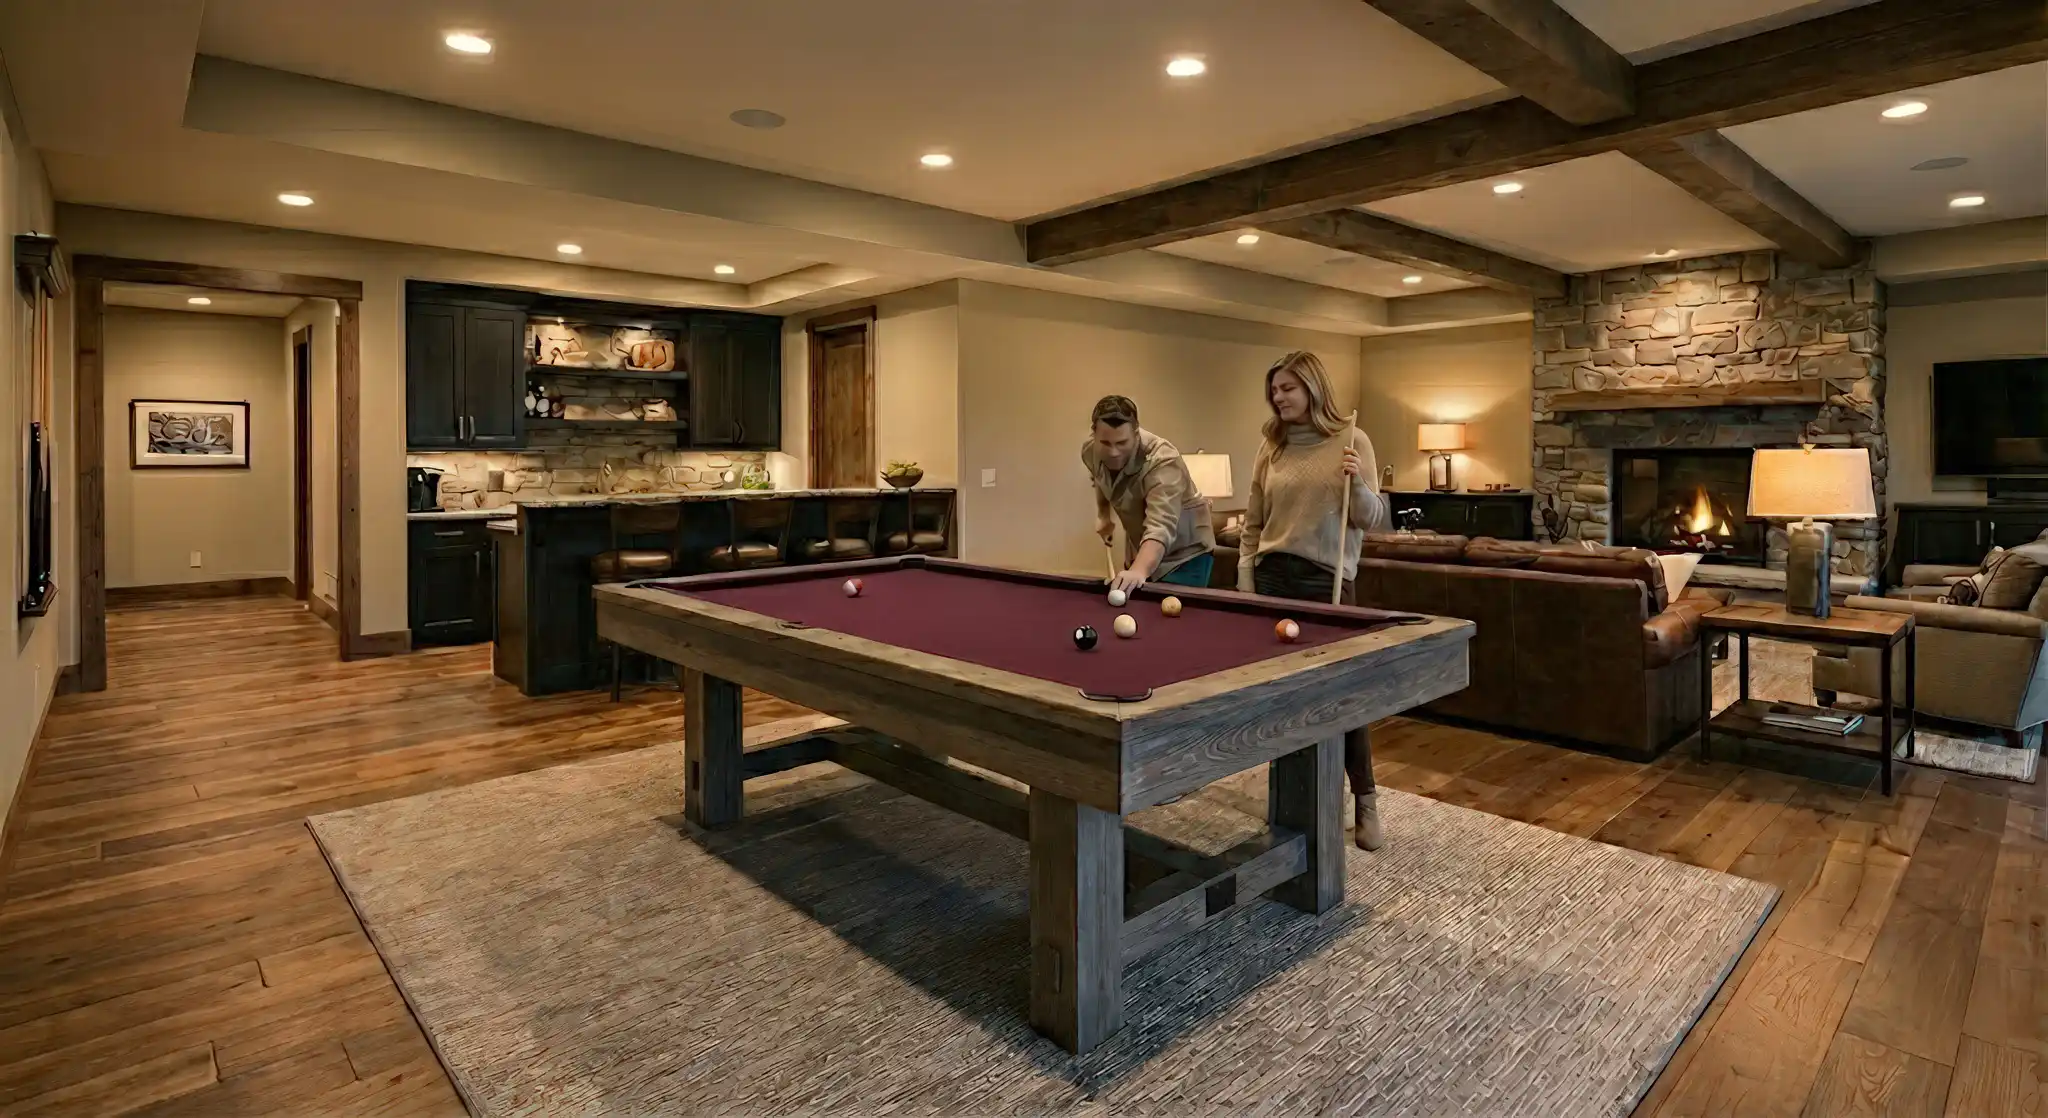
Our Expert Recommendation: Who is a DIY Build Really For?
A DIY shuffleboard table is an excellent project for experienced woodworkers who already possess a well-equipped workshop and are seeking a challenging and rewarding endeavor. For those who value their time, prioritize a flawless playing surface, and want the peace of mind that comes with a professional warranty, purchasing a table from a trusted retailer like Pool Table Store Canada is often the more practical and cost-effective choice. It ensures you receive a high-quality, ready-to-play table without the steep learning curve and potential pitfalls of a complex build.
Planning Your Project: Tools, Materials, and Budget
Essential Tools for Building a Shuffleboard Table
- Table Saw: For making long, straight rip cuts.
- Miter Saw: For precise crosscuts and angled cuts.
- Router: For shaping edges and flattening the playing surface with a router sled.
- Random Orbital Sander: For achieving a smooth, swirl-free finish.
- Clamps: A large assortment, especially parallel jaw or pipe clamps for the playing surface.
- Long Level: At least 6 feet, for accurate leveling.
- Drill/Driver: For pilot holes and assembly.
Choosing the Right Materials: A Guide for Quality That Lasts
Wood Selection: Why Maple is the Gold Standard for Playing Surfaces
For the playing surface, North American Hard Maple is the undisputed champion. Its exceptional hardness and dense grain provide superior resistance to dents from dropped pucks, while its dimensional stability minimizes the risk of warping. While other hardwoods like birch can be used, they lack the durability of maple. Softer woods like pine are not recommended for the playing surface unless paired with a very thick, hard finish. For the cradle and legs, hardwoods such as oak, mahogany, or walnut offer excellent strength and aesthetic appeal.
Understanding Finishes: Polyurethane vs. Poured Epoxy Resin
The finish on the playing surface is just as important as the wood itself. A poured epoxy resin creates a thick, glass-like surface that is incredibly hard and durable. However, it is difficult to apply and nearly impossible to repair if scratched. Oil-based polyurethane is a more traditional and forgiving option. It offers excellent scratch resistance, is much easier to apply in multiple thin coats, and can be readily repaired or refinished in the future.
Sourcing Materials in the Greater Toronto Area (GTA)
For builders in the GTA, several specialty lumberyards offer high-quality hardwoods like maple. Researching local suppliers for kiln-dried lumber will ensure the wood is stable and ready for use. For finishes and hardware, woodworking supply stores will carry a wider selection of professional-grade products than big-box retailers.
Budgeting Your Build: A Detailed Price Breakdown
- Maple Playing Surface: $400 – $600
- Hardwood for Frame: $180 – $300
- Hardwood Plywood (3 sheets): $120 – $180
- Finishing Materials (Epoxy or Polyurethane): $250
- Hardware (Climatic Adjusters, Levelers, Fasteners): $100 – $150
- Miscellaneous (Carpet, Glue, Sandpaper): $175 – $225
- Estimated Total: $1,225 – $1,705
Step-by-Step Guide to Building Your Shuffleboard Table
Constructing the Table Legs: Step 1
The legs must be robust enough to support the substantial weight of the table. Construct them from solid hardwood using strong joinery methods like mortise and tenon or heavy-duty hardware. For tables 16 feet or longer, a third center leg is necessary to prevent sagging. Install heavy-duty adjustable leveling feet in the bottom of each leg before final assembly.
Assembling the Main Cradle (Frame): Step 2
The cradle is the long, reinforced box that houses the playing surface. Cut the side rails and end caps from hardwood or high-quality plywood, ensuring all cuts are perfectly square. Use strong joinery, such as pocket screws or dowels reinforced with wood glue. Install internal cross-braces every 2-3 feet to support the weight of the playing surface and prevent the frame from bowing.
Creating the Gutter Box: Step 3
The gutter is the channel between the playing surface and the inside of the cradle walls that catches stray pucks. The bottom of the cradle, which forms the base of the gutter, should be lined with carpet to protect the pucks and dampen sound. Secure the carpet with a staple gun or strong adhesive.
Laminating and Flattening the Playing Surface: Step 4
This is the most critical step of the build. The playing surface can be constructed by joining two pre-made hardwood butcher block countertops or by milling and gluing up individual strips of hard maple. Regardless of the method, the final slab will need to be flattened. Since most workshop planers are too small for this task, a router sled is the preferred method. For other examples of how to make a shuffleboard table, you can find inspiration from a variety of DIY shuffleboard table plans available online.
Applying the Finish for a Perfect Glide: Step 5
After flattening, the surface must be sanded to perfection, progressing through grits from 80 up to 220. Apply scoring lines and numbers with high-quality painter’s tape and oil-based paint before the final topcoat. For an epoxy finish, pour the mixed resin onto the surface and use a propane torch to remove bubbles. For polyurethane, apply 3-5 thin coats, lightly sanding between each coat to achieve a smooth, durable finish.
Final Assembly and Installing Climatic Adjusters: Step 6
Carefully lower the finished playing surface into the cradle. Do not glue or screw it down directly; instead, use brackets or blocks with oversized screw holes to allow for seasonal wood movement. Mount the climatic adjusters to the underside of the playing surface, spaced evenly along its length. These are essential for maintaining the slight concave curve required for proper gameplay and for counteracting any warping over time.
Critical Long-Term Care for Your New Shuffleboard Table
How to Properly Wax and Maintain the Playing Surface
Before each game, lightly mist the surface with a shuffleboard-specific silicone spray. Allow it to settle, then sprinkle a light, even layer of shuffleboard powder (often called wax) across the surface. This powder, composed of tiny silicone beads, acts as microscopic ball bearings for the pucks. Do not apply too much, as it can slow down the pucks.
Cleaning and Protecting Your Table
Regularly clean the playing surface to prevent the buildup of dust and grime. For epoxy or polymer finishes, a damp microfiber cloth or glass cleaner is sufficient. For polyurethane or lacquer finishes, use a high-quality furniture wax or a solution of diluted vinegar. When not in use, a table cover will protect the surface from dust and accidental damage.
Adjusting Climatic Adjusters for Seasonal Changes
Wood expands and contracts with changes in temperature and humidity. Periodically check the playing surface with a straightedge to ensure it maintains a slight concave curve. If the board becomes too flat, convex, or cupped, make small adjustments to the nuts on the climatic adjusters to restore the proper shape.
Frequently Asked Questions About Building a Shuffleboard Table
How long does it realistically take to build a shuffleboard table?
- Building a shuffleboard table is a significant time commitment, estimated to require approximately 64 hours of dedicated work. This includes time for construction, finishing, and assembly.
Can I build an outdoor shuffleboard table?
- Building an outdoor shuffleboard table is not recommended. The constant exposure to fluctuations in temperature, humidity, and direct sunlight will cause even the most well-sealed wood to warp, crack, and delaminate over time, quickly rendering the table unplayable.
What are the most common mistakes to avoid?
- The most common mistakes include underestimating the total cost and time required, failing to account for sufficient clearance space around the table for gameplay, not using climatic adjusters, and attempting to flatten the playing surface without a proper router sled, resulting in an uneven board.
Not Ready for a DIY Project? Explore Canada’s Best Shuffleboard Tables
Visit Our Showroom in Mississauga to See Professional Tables in Person
The best way to appreciate the craftsmanship and quality of a professional shuffleboard table is to see it in person. Our showroom in Mississauga features a wide selection of tables from top brands, allowing you to experience the difference in playability and build quality firsthand.
Why Professional Installation Matters for a Perfectly Level Game
A perfectly level playing surface is crucial for a fair and enjoyable game. Our professional installation team has the tools and expertise to ensure your new table is set up correctly, perfectly leveled, and calibrated for optimal gameplay from day one.
Browse Our Curated Collection of Brunswick and Olhausen Shuffleboards
We are the exclusive authorized dealer for Brunswick Billiards in the GTA and also carry a fine selection of Olhausen shuffleboards. These brands are renowned for their superior craftsmanship, high-quality materials, and exceptional playability. Explore our collection to find the perfect table for your game room.
Conclusion
Building a shuffleboard table can be an immensely rewarding project for the right person with the right tools and skills. However, it’s a major undertaking that requires careful consideration of the true costs in both time and money. For many, the convenience, quality assurance, and professional performance of a table from a trusted brand like Brunswick or Olhausen offer a more direct path to years of enjoyment.